
Why Do All My Search Queries Redirect to Bing?
Being redirected to Bing every time you browse and search could mean that your browser is infected by a malicious virus known as a browser hijacker.
These type of malware often hides within the system or as a browser extension and it configures the browser’s homepage and default search engine into Bing.com instead of your preferred search engine.
Please keep in mind that Bing.com is not a virus in and of itself; malicious actors only use the aforementioned search engine since it is so simple for them to alter and add undesirable search results and advertisements.
Even if you haven’t switched or altered your browser settings, if you find that Bing is being rerouted every time you perform a search, this suggests the behavior of a browser hijacker virus, which you should remove right away to avoid irreparable damage.
You might have acquired the Bing redirect virus by opening deceptive emails or downloading dangerous torrent files, among other methods.
While torrenting might be harmful, you should always scan the downloaded file for malware before extracting or opening the file. You should also be careful not to click on email attachments from sites you do not recognize.
Symptoms of Bing Redirect Virus
Being sent to the aforementioned website is one of the easiest ways to determine if you have the Bing redirect malware. The most obvious sign of this kind of malware is when your default search or homepage changes.
The redirect malware could reverse the modifications you made to Bing even after you try to return the search settings to normal.
Observing that the modifications you made have been undone to the undesirable browser settings might be annoying.
This occurs because undoing the settings the infection has made requires first eliminating the virus’ primary source. It will keep returning if you don’t get rid of it.
One of the many implications that browser hijacker viruses can have on the computer is the ability to track and monitor your online behavior. It also includes monitoring your browsing history and stealing your cookies for account logins.
The Bing redirect virus has the following impacts on the computer system, in brief:
- The search was diverted from the default search engine to Bing.com.
- Sudden browser crashes or performance lag.
- Unwanted pop-up advertisements and redirections.
- Without user consent, the configuration of the browser is altered.
- Unknown extensions or plugins are suddenly getting installed.
- High CPU use and insufficient storage.
- Changes to the host’s file on the PC.
This type of malware can bring disaster to the ones infected by it. That is why it should be removed as soon as possible.
Having it prolonged on your computer could mean that you are inviting cybercriminals into your device and it could bring more vulnerabilities.
How did I get Infected by the Browser Hijacker?
The method that Bing redirects malware entering the computer system is the same as how viruses of all kinds normally spread.
There are several ways that these viruses can enter a computer system, however, the following are the most common:
Spam email attachments: This tactic is the most popular and commonly applied. By tricking them into installing malicious software that is attached to the attackers’ email, it tricked the intended recipient. The files are either bundled together or presented in the attachments like papers, videos, and voicemails.
Drive-by Download: This happens when a user accesses a compromised website that has been injected with a malicious script, which prompts the download of an arbitrary piece of software. Once the targets’ systems are opened, hackers can use these flaws to gain unauthorized access to them. It frequently happens when adware or other potentially undesirable programs are installed.
Torrent Files: Millions of pirates utilize torrent files to get cracked versions of expensive software, as well as illegally obtained music and movies. Since then, cybercriminals have spread their hazardous software using the torrent community.
Tens of thousands of people get infected with this specific kind of virus every day. Everyone should exercise caution by avoiding visiting odd websites, downloading malicious files, and checking their email for attachments from unknown senders because the developers of this virus use several techniques to infect a web user’s machine.
However, there’s no need to panic; getting rid of the annoying Bing search infection is simple. By the end of this article, we promise that your malware issue will be resolved.
You can get rid of the undesirable threat and stop it from doing more damage to your system by following the methods listed below.
How to Remove Bing Redirect Virus
This procedure will assist you in removing the redirection malware as well as any dangers related to the browser hijacker infection. You can rest assured that the information provided below has been tested with an infected machine and the malware was successfully removed.
Step 1: Find and Remove the Source of the Malware
Misconceptions about browser hijackers exist, and one of them is that once the browser settings have been restored to their original state, everything will be alright.
They are unaware that malware like the Bing redirect virus, which takes the form of a browser extension or computer program, will continually reappear as long as its primary source is left installed. It is essential to try and locate the source of the program and remove it from the system so that it will never come back.
For Windows version 7/8/10 and 11:
- Search Control Panel in the Windows search bar then click it.
- The Control Panel should open, from there click Programs then Programs and Features.
- A list of installed software will show on the screen after a moment.
- Scroll down and find any suspicious programs (ex: bloom.exe, energy.exe) you did not download then right-click the application and select Uninstall.
Now that the malicious program is uninstalled, the Bing redirect virus should not come back after changing the browser settings. If you haven’t found any malicious applications, then it might have been in the form of a browser plugin which we will show how to remove below.
For all Mac OS versions:
Open the Finder application from the Dock.

Select Application from the left sidebar.

Find an unwanted application that you did not install then right-click its icon then select Move to Trash. (In MacOS, malicious applications are typically the ones with the “Magnifying Glass” icon.)
Now, to remove associated files, click the Go from the Finder toolbar and select Go to the folder from the expanded menu.
 Search the following paths for files associated with the virus app. These files will have the .plist extension and will look similar to com.ExampleApp.plist. (Note: Do not delete files that come from legit applications)
~/Library/LaunchAgents
~/Library/Application
/Library/LaunchAgents
/Library/LaunchDaemons
Once you have found them, right-click and select Move to Trash to get rid of those files.
From the Dock, right-click the Trash application and select Empty Trash to delete the files permanently.
A confirmation window may appear asking if you want to delete the files on the Trash, go ahead and proceed to delete them.![]() Now, the malicious application as well as files related to the browser redirect threat are permanently deleted from the Mac system.
Now, the malicious application as well as files related to the browser redirect threat are permanently deleted from the Mac system.
Step 2: Remove Unwanted Extensions from Browser
The malware can also add malicious extensions to the browser. The source itself could be disguised within the web browser itself if you don’t notice any strange files or applications on your computer.

Google Chrome (Windows Only):
Click the three-dot buttons in the right-hand corner of the Chrome Browser. Find and click More Tools from the drop menu, then select Extensions.
A new tab will appear with all your installed extensions. Find which extension is suspicious and delete it. To deactivate the extension, toggle the blue switch to disable the program. Then click the remove button to fully uninstall it from Google Chrome.
If the switch is disabled: You have to remove the extension from within the extensions folder manually. Go to the Google Chrome extensions folder by using the following directory:
C:\Users\YOUR NAME\AppData\Local\Google\Chrome\User Data\Default\Extensions
You will see a list of folders with different hashes, to find what you need to delete, tick the Developer mode in the Google Chrome extensions tab to show the id of downloaded plugins.
Find the one matching the id of the extension you wish to remove to the one in the folder then delete it. Restart Google Chrome and the extension should be gone.

Mozilla Firefox (Mac & Windows):
Click the Menu button in the right corner of Firefox once it’s open. Then go to Add-ons and Themes then select Extensions.
Toggle the blue switch to disable the suspicious extension after finding it. Click Remove from the three dots icon on the right side of the extension you want to remove.
![]()
Microsoft Edge (Mac & Windows):
Open the Microsoft Edge application then click on the three dots on the upper right. A drop-down menu will show then click Extensions.
A new tab will open and show all installed extensions on the browser. Find the suspicious extension that you might have not installed.
Slide the blue switch to disable the use of the extension. Click on the remove button just below the extension.

Safari (Mac Only):
Open the Safari browser then click on Safari on the Menu Bar on top. Choose Preferences from the drop menu. A window should appear, then click the Extensions tab.
Search for suspicious extensions you did not install. Click the unwanted extension then select the remove button.
Step 3: Remove Profiles Created by Bing Redirect (For Mac)
Bing.com redirect virus can prevent users from reverting to their default browser settings. As a result, when users attempted to alter their preferences back, they were either unable to do so or their preferences were turned back after a few minutes.
Removing the profiles added by the malware is required to ensure that configurations are not altered again once they have been reverted. (Note: If the device does not have any profiles related to the adware, you may proceed to the next step.)
- Click the Apple logo on the upper left corner of the screen then select System Preferences from the drop-down menu.

- On the System Preferences window, find and click Profiles. (If you cannot find Profiles, then it means you do not have profiles on your Mac. You may skip this procedure and head over to the next step.)

- Find and remove profiles that may be associated with the adware. Click the minus button on the lower left part of the window to remove the profile.

Step 4: Use Chrome Cleanup Tool (For Windows Users)
If you are using Google Chrome as a default browser program, then you may utilize the Cleanup Tool feature that came with the application. This method can only work with the Windows operating system as of now.

- Open Google Chrome and click the three dots in the upper right corner of your screen to access the Google Chrome menu.
- Click the Settings button, then click the Advanced menu on the left side of the screen from the settings screen.
- Select Reset and clean up which can be found at the bottom.
- There will be two options, select Clean up Computer.
- Hover over to the Find icon and click it. Then wait for Chrome to perform a system search. While it is working in the background, it will display the message “Checking for harmful software”.
- If Chrome discovers something to be concerned about after the scan, it will notify you to take the next steps. If no threats are discovered, the message “No harmful software was found” will appear.
Step 5: Use Malwarebytes Anti Malware
Malwarebytes Anti-Malware is one of the most effective anti-malware programs available. They have some of the greatest threat detection software, ensuring that any unwanted threats on your computer are eliminated. If neither of those methods works, you can utilize this antivirus program to complete the task.
For Windows Users:
- Visit the official anti-malware website or click the button above to download the most up-to-date version of the software that best suits the requirements of your computer. You will also be getting a 14-day trial of the premium program as you download the application for the first time.

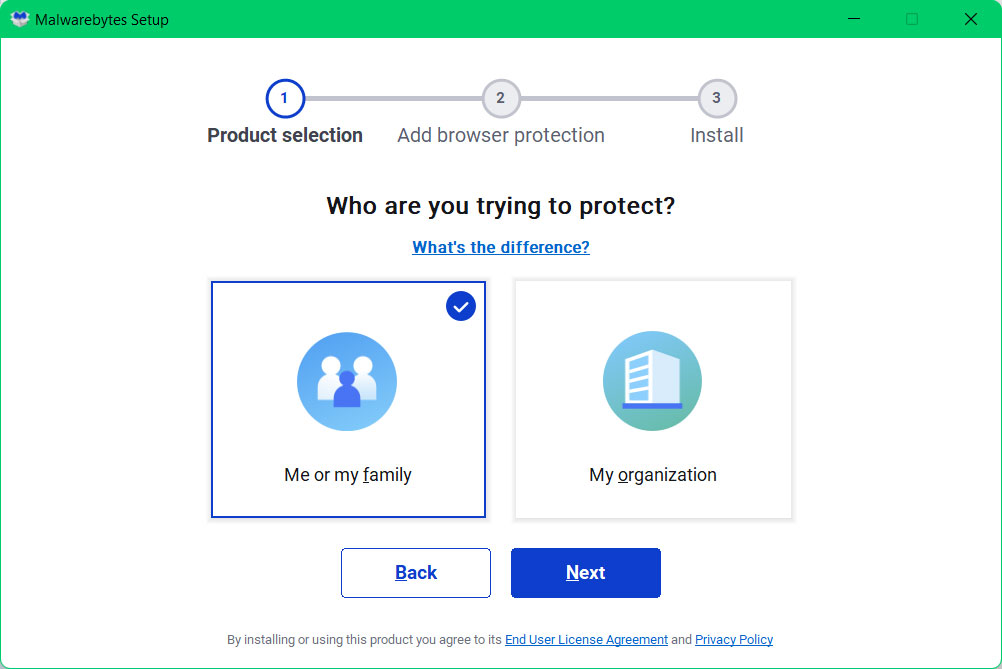
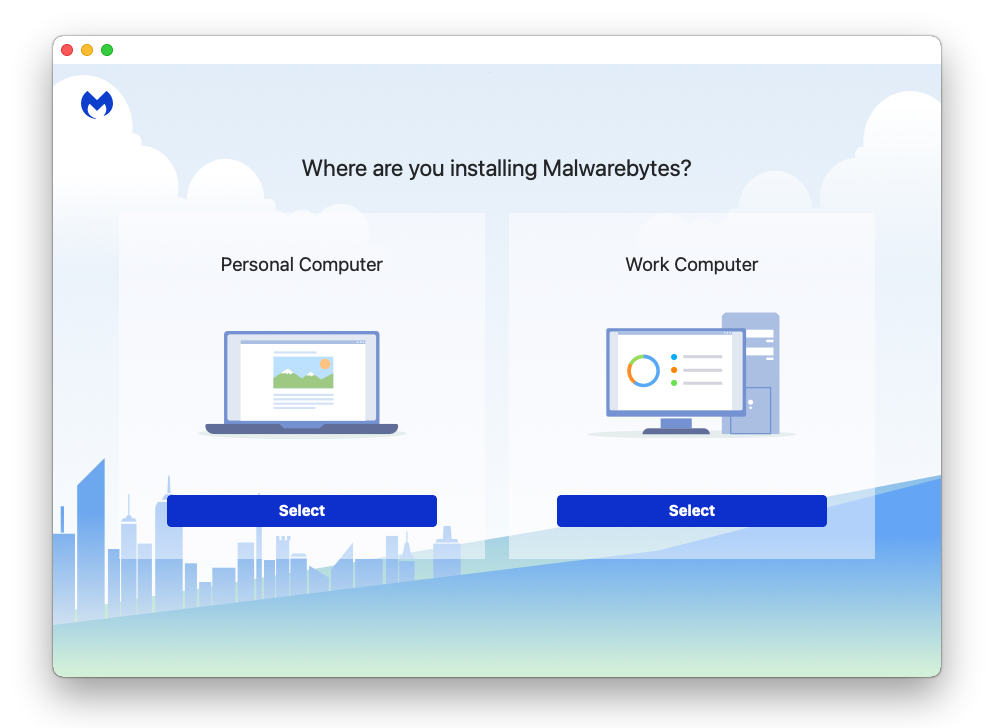
- When prompted to choose between personal and organizational use, click the personal option unless you are downloading it within your company. From then on, follow the installation procedure given on your computer’s setup screen.
- After following the software setup instructions, wait for the application to finish installing.

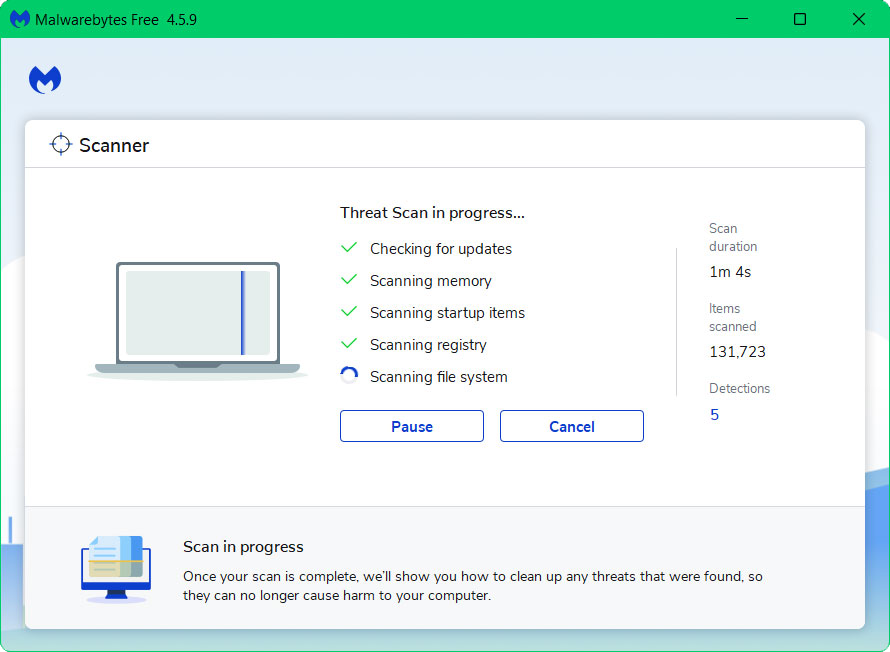
- Once the application is installed, run your first computer scan and wait for it to finish.
- All discovered malware on the computer will be displayed on the screen, and you can eliminate them by pressing the “quarantine” button.

For Mac Users:
- Using your web browser, go to the official anti-malware website or click the button above to download the most recent version of the program. When you first download the application, you will also receive a 14-day trial of the premium software.

- After the file has finished downloading, click on the installation package and run the file to start installing the application.
- Follow the installation procedure shown on the setup and wait for it to finish.
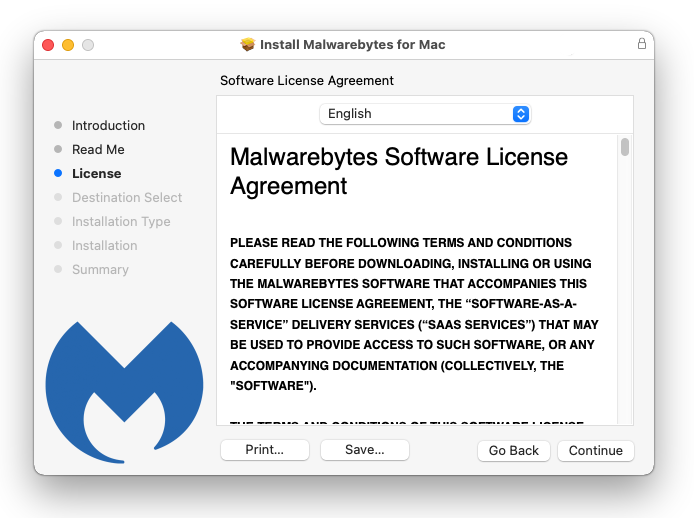
- Your password may be required to continue installer from installing the new software. Permit it and click Install Software.

- Wait for Malwarebytes Anti-malware to finish installing on the Mac system.

- Once the process is complete, the application will open. Click on the Get Started button and follow the procedure to start using Malwarebytes.
- When prompted to choose between personal and organizational use, click the personal option unless you are downloading it within your company.
- After the initial start-up, proceed to run your first scan. The scanning may take a while depending on how many files you have on your system.
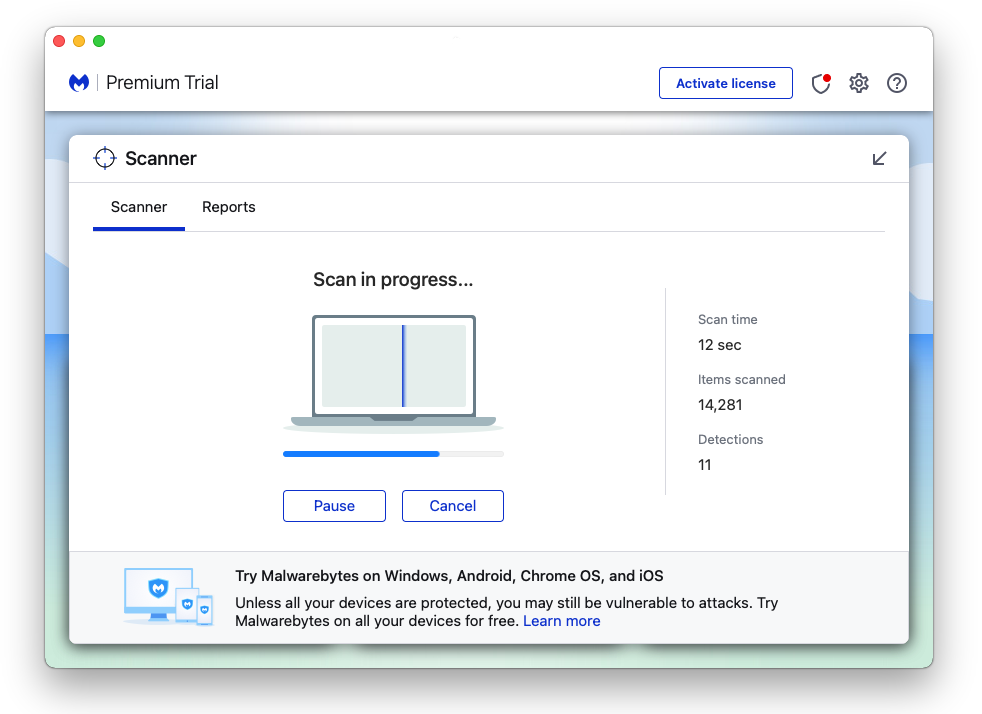
- Malwarebytes will show all malware identified on the machine after the scan, and you can remove the detected threats by pressing the quarantine button. (Note: Some threats may require a restart of the computer.)

The Bing redirect virus, as well as any other potential threats identified on the Mac and Windows system, should be removed once the process is finished. We also recommend turning on Malwarebytes Real-Time Protection, which will secure your computer and detect threats as soon as they appear.
Step 6: Reset the Browser Settings
Once the malicious threat has been removed from the system, we need to make sure that the changes it made from the browser should be turned back to normal. Rather than changing the default homepage and permissions manually, it is much easier to reset the browser to its default settings.
Google Chrome

- Open Google Chrome and click the three dots in the upper right corner of your screen to access the Google Chrome menu.
- Click the Settings button, then click the Advanced menu on the left side of the screen from the settings screen.
- On the drop-down menu, select Reset and Clean up
- Click on the Restore settings to their original defaults.
- Then a small window will appear and click the Reset Settings.
Mozilla Firefox

- Launch the Mozilla Firefox browser then open the menu by clicking on the three horizontal lines located in the upper right corner.
- Navigate down and click Help then select More Troubleshooting Information from the options given.
- Select the Refresh Firefox button.
- Click Refresh Firefox on the confirmation window that appeared.
![]()
Microsoft Edge

- Run Microsoft Edge on the computer and click the three dots icon in the upper right corner.
- Click on the Settings button from the drop-down menu.
- Find and click the Reset Settings from the left sidebar.
- Then click on the option Restore settings to their default values.
- A warning window will appear that you are about to reset the browser, click Reset and the browser should return to its default settings.
Safari
We will be using the utilization of the Terminal application to reset the Safari browser because, unlike Chrome or Safari, they do not have an auto-reset feature for the browser.
- To use the Terminal application, open Finder and navigate to the Applications/Utilities folder.

- Copy and paste each code line separately in the Terminal. Some of the first codes will have a confirmation line, type y to continue. (Note: Make sure the Safari application is closed while proceeding with working with the codes.)

rm -Rf ~/Library/Cookies/*;
rm -Rf ~/Library/Cache/*;
rm -Rf ~/Library/Safari/*;
rm -Rf ~/Library/Caches/Apple\ -\ Safari\ -\ Safari\ Extensions\ Gallery;
rm -Rf ~/Library/Caches/Metadata/Safari;
rm -Rf ~/Library/Caches/com.apple.Safari;
rm -Rf ~/Library/Caches/com.apple.WebKit.PluginProcess;
rm -Rf ~/Library/Cookies/Cookies.binarycookies;
rm -Rf ~/Library/Preferences/Apple\ -\ Safari\ -\ Safari\ Extensions\ Gallery;
rm -Rf ~/Library/Preferences/com.apple.Safari.LSSharedFileList.plist;
rm -Rf ~/Library/Preferences/com.apple.Safari.RSS.plist;
rm -Rf ~/Library/Preferences/com.apple.Safari.plist;
rm -Rf ~/Library/Preferences/com.apple.WebFoundation.plist;
rm -Rf ~/Library/Preferences/com.apple.WebKit.PluginHost.plist;
rm -Rf ~/Library/Preferences/com.apple.WebKit.PluginProcess.plist;
rm -Rf ~/Library/PubSub/Database;
rm -Rf ~/Library/Saved\ Application\ State/com.apple.Safari.savedState;
After running all the codes to the Terminal application, the Safari browser should look good as new.
Simple Tips to be safe online
- It is preferable to avoid websites with unique domain extensions other than .com, .org, .net, and.edu. Because most infected websites have extremely distinct TLDs, always verify the last part of a domain to ensure that you are visiting a safe site, unless the site has been reputable ever since.
- Never acquire software or programs from unknown sources, as this is one of the most common ways for adware and other types of malware to attack your computer. Only download from reputable and legitimate websites. To be safe, stay away from torrent downloads and cracked software download sites, as there will always be malware in the files.
- Using a firewall is one of the most foolproof ways to be safe online. It serves as a first line of defense against dangerous websites, shielding visitors from potential risks. It protects the user’s network and device from intruders. A firewall will safeguard a user from the threats hiding on the vast internet in today’s age.
- It is essential to keep anti-virus software up to date on a computer since hundreds of new malware threats are released every day that target the machine’s vulnerabilities to infect it. Anti-virus updates include the most recent files required to counter new threats and safeguard your machine.
- Only visit websites that have a secured connection. A site with an HTTP connection does not encrypt the data it receives and therefore is not considered secure. Entering personal information such as email addresses, phone numbers, and passwords on a website with an HTTP connection is risky since it could be compromised and your information was stolen. Websites with HTTPS connections, on the other hand, are secure since data is encrypted and attackers are unlikely to gain access to information exchanged within the site.