If you find yourself unable to eliminate malware from your browser, or if it appears to be eradicated only to reappear after a few instances, the root cause could be attributed to the Chrome sync feature.
Chrome sync is responsible for synchronizing various data, including extensions, across multiple devices. In this case, the malicious extension might be synchronized and reinstalled each time you attempt to remove it.
To provide a more detailed explanation, when you remove a malware-infected extension from your browser, it may not necessarily remove the extension from your Google account’s synced data.

As a result, when you sign in to Chrome on another device or reinstall Chrome on the same device, the sync process automatically restores the malicious extension, perpetuating the issue.
To effectively tackle this problem, it is crucial to take additional steps beyond simply removing the malware-infected extension. Here are a few recommended actions to break the cycle and eliminate the malicious extension permanently
Methods to Fix Malware Synced from Chrome
Each method listed below has been tried and tested by our experts because there could be several factors for this problem. If the first one doesn’t work for you, try the next one until the problem is fixed.
Method 1: Disable Sync from Google Chrome
Temporarily disable Chrome sync on all devices to prevent the synchronization of malicious extensions across your devices.
1. Open Chrome and click on your profile picture located in the top right corner of the window.
2. From the dropdown menu, select “Sync and Google services.”
3. In the “Sync” section, toggle off the “Sync” option to temporarily disable Chrome sync on all devices.
4. By disabling Chrome sync, you prevent the spread of the malicious extension to other devices connected to your Google account.
Method 2: Remove the Extension via Different Source
It is worth noting that locating the program can be tricky because many malicious programs disguise as legitimate programs or system files.
You may locate the program by utilizing the Task Manager and finding suspicious applications that are currently running when you are facing the browser hijacker symptoms.
Uninstall malicious programs via Control Panel

1 Search Control Panel in the Windows search bar then click it.
2 The Control Panel should open, from there click Programs then Programs and Features.
3 A list of installed software will show on the screen after a moment.
4 Scroll down and find suspicious extensions you did not download then right click the application and select Uninstall.
Remove malicious browser extensions
If the redirections still appear even after removing notifications permissions from suspicious sites, then the most likely cause is due to a malicious browser plugin installed.

Google Chrome:
Click the three dot buttons in the right hand corner of Chrome Browser. Find and click More Tools from the drop menu, then select Extensions.
A new tab will appear with all your installed extensions. Find which extension is suspicious and delete it. In order to deactivate the extension, toggle the blue switch to disable the program. Then click the remove button to fully uninstall it from Google Chrome.
If the switch is disabled: You have to remove the extension from within the extensions folder manually. Go to the Google Chrome extensions folder by using the following directory:
C:\Users\YOUR NAME\AppData\Local\Google\Chrome\User Data\Default\Extensions
You will see a list of folders with different hashes, to find what you need to delete, tick the Developer mode in the Google Chrome extensions tab to show the id of downloaded plugins.
Find the one matching the id of the extension you wish to remove to the one in the folder then delete it. Restart Google Chrome and the extension should be gone.

Mozilla Firefox:
Click the Menu button in the right corner of Firefox once it’s open. Then go to Add-ons and Themes then select Extensions.
Toggle the blue switch to disable the suspicious extension after finding it. Click Remove from the three dots icon on the right side of the extension you want to remove.

Microsoft Edge:
Open Microsoft Edge application then click on the three dots on the upper right. A drop down menu will show then click Extensions.
New tab will open and show all installed extensions on the browser. Find the suspicious extension that you might have not installed.
Slide the blue switch to disable the use of the extension. Click on the remove button just below the extension.

Safari:
Open the Safari browser then click on Safari on the Menu Bar on top. Choose Preferences from the drop menu. A window should appear, then click the Extensions tab.
Search for suspicious extensions you did not install. Click the unwanted extension then select the remove button.
Method 3: Reset the Browser to Default Settings
Please follow the short guide provided below to reset your browsing program to default settings.

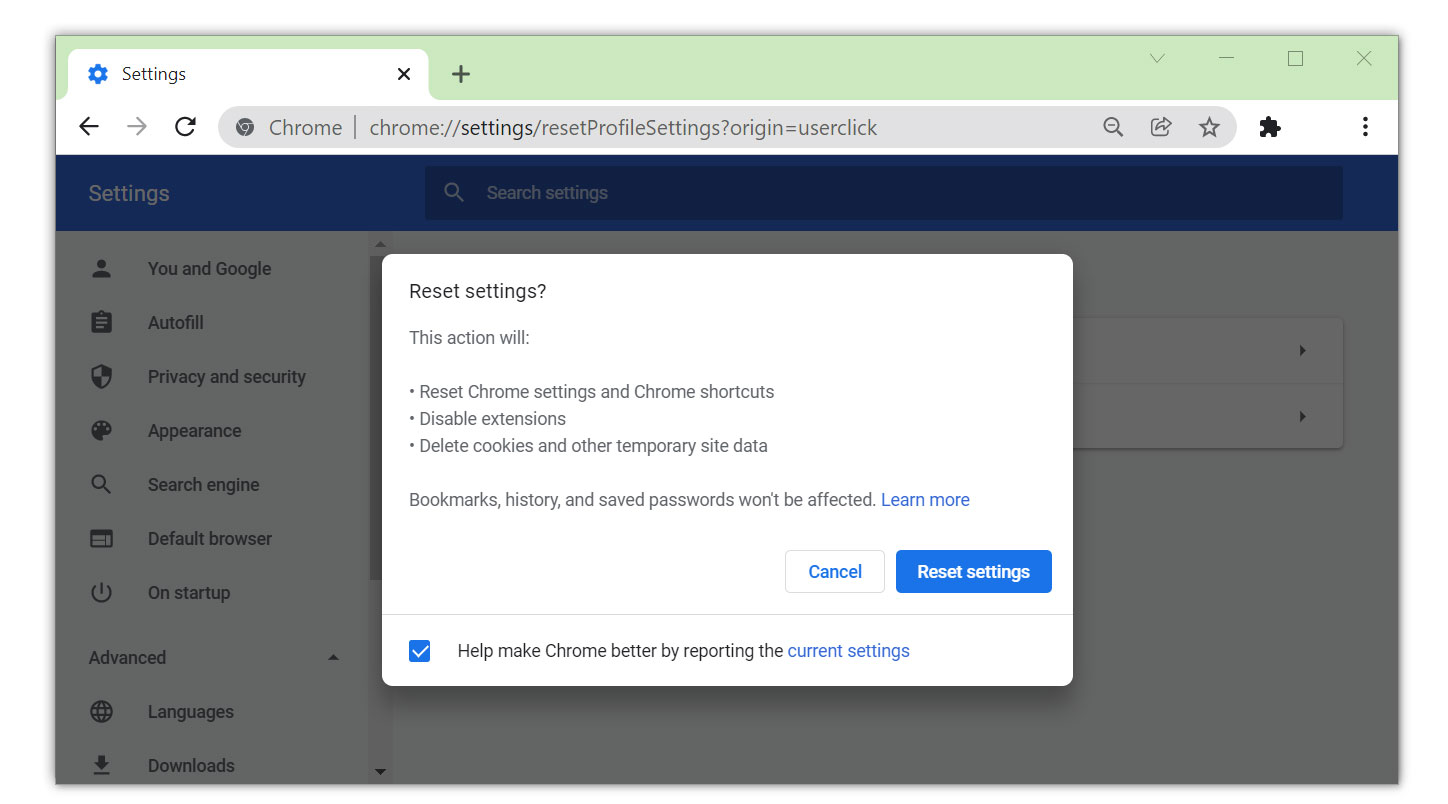
For Google Chrome

- Open Google Chrome and click the three dots in the upper right corner of your screen to access the Google Chrome menu.
- Click the Settings button, then click the Advanced menu on the left side of the screen from the settings screen.
- On the drop down menu, select Reset and Clean up
- Click on the Restore settings to their original defaults.
- Then a small window will appear and click the Reset Settings.

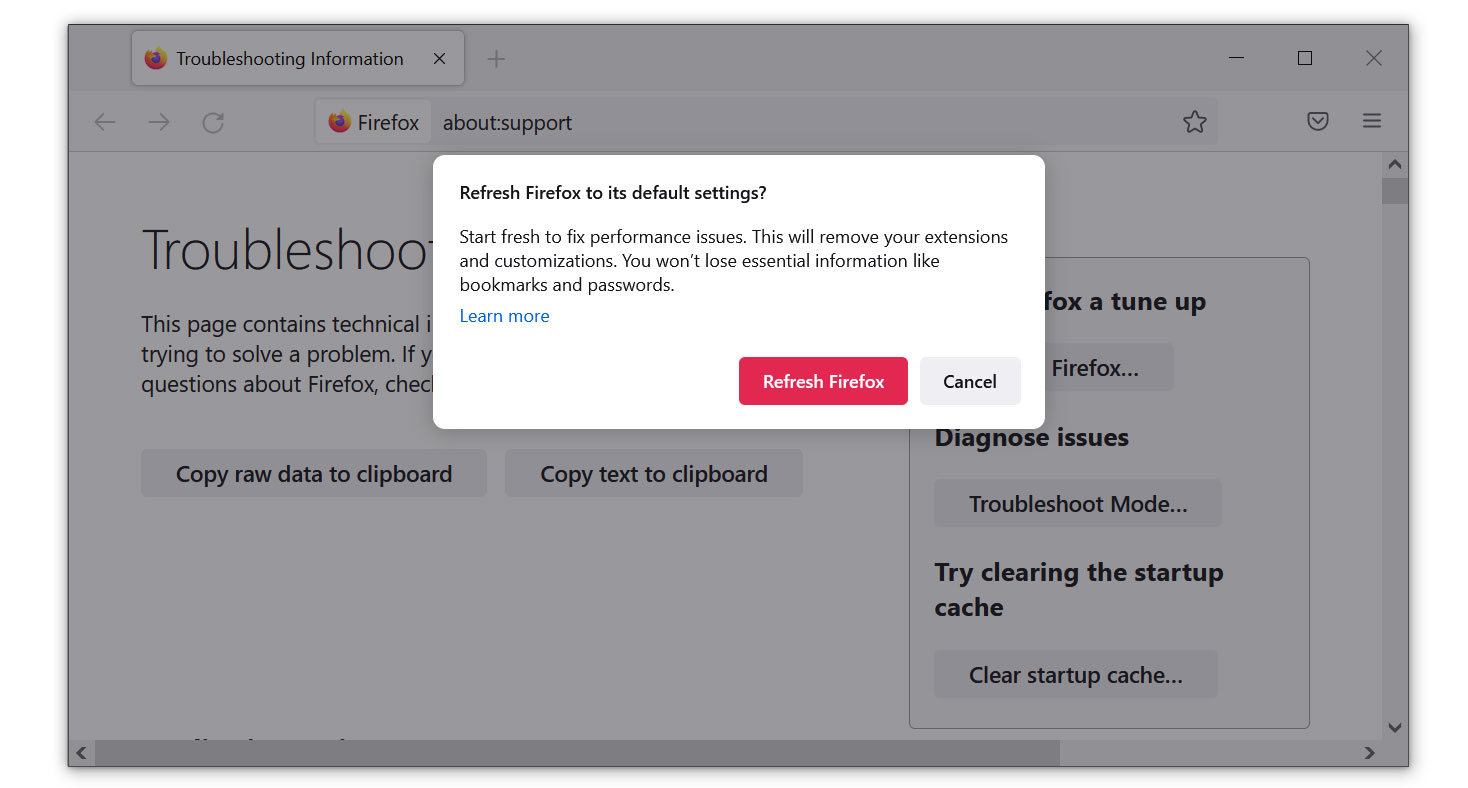
For Mozilla Firefox

- Launch Mozilla Firefox browser then open the menu by clicking on the three horizontal lines located in the upper right corner.
- Navigate down and click Help then select More Troubleshooting Information from the options given.
- Select the Refresh Firefox button.
- Click Refresh Firefox on the confirmation window that appeared.

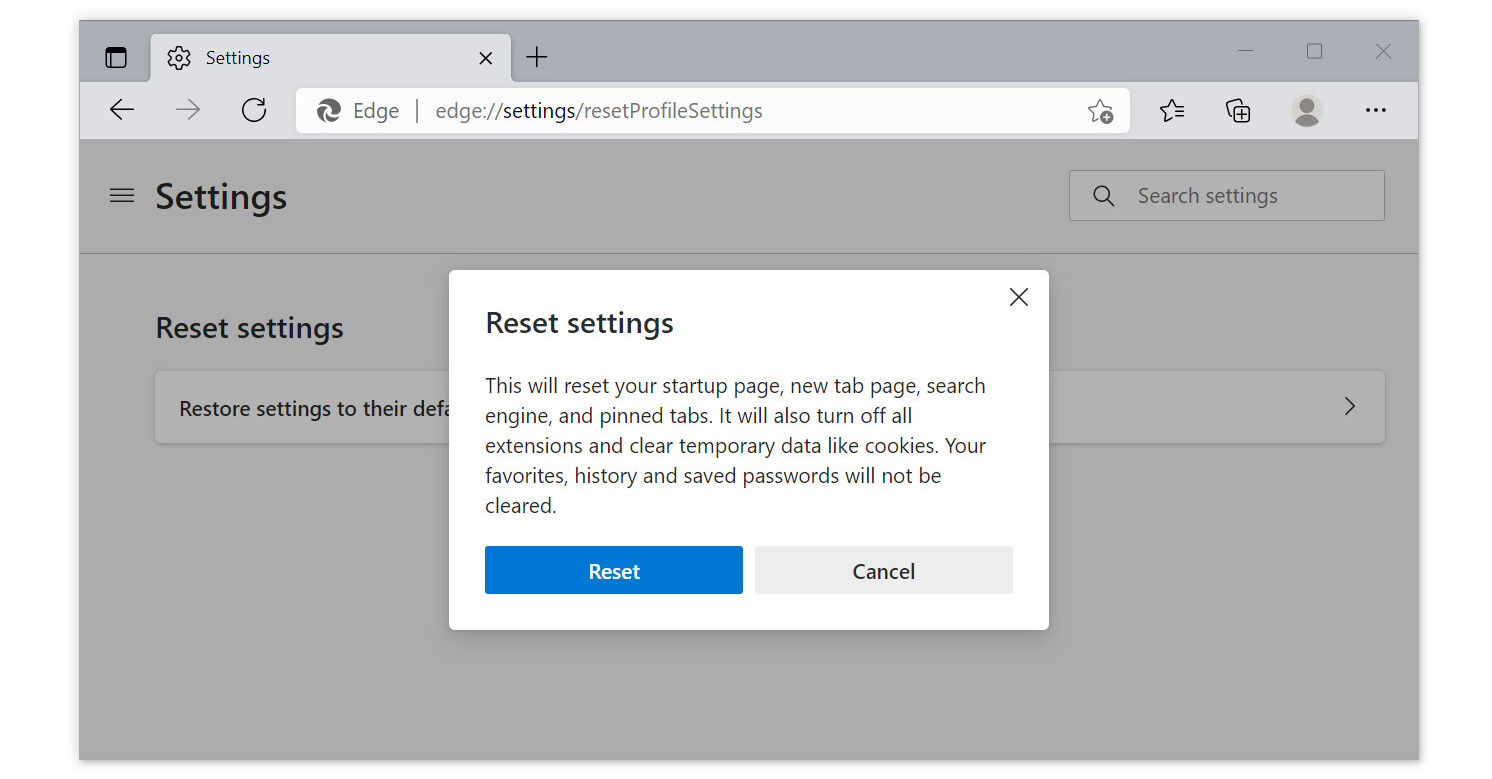
For Microsoft Edge

- Run Microsoft Edge on the computer and click three dots icon on the upper right corner.
- Click on the Settings button from the drop down menu.
- Find and click the Reset Settings from the left sidebar.
- Then click on the option Restore settings to their default values.
- A warning window will appear that you are about to reset the browser, click Reset and the browser should return to it’s default settings.

For Safari
We will be using the utilization of the Terminal application to reset the Safari browser because unlike Chrome or Safari, they do not have an auto reset feature for the browser.
1. To use the Terminal application, open Finder and navigate to the Applications/Utilities folder.

2. Copy and paste each code lines separately in Terminal. Some of the first codes will have a confirmation line, type y to continue.(Note: Make sure the Safari application is closed while proceeding with working with the codes.)

rm -Rf ~/Library/Cookies/*;
rm -Rf ~/Library/Cache/*;
rm -Rf ~/Library/Safari/*;
rm -Rf ~/Library/Caches/Apple\ -\ Safari\ -\ Safari\ Extensions\ Gallery;
rm -Rf ~/Library/Caches/Metadata/Safari;
rm -Rf ~/Library/Caches/com.apple.Safari;
rm -Rf ~/Library/Caches/com.apple.WebKit.PluginProcess;
rm -Rf ~/Library/Cookies/Cookies.binarycookies;
rm -Rf ~/Library/Preferences/Apple\ -\ Safari\ -\ Safari\ Extensions\ Gallery;
rm -Rf ~/Library/Preferences/com.apple.Safari.LSSharedFileList.plist;
rm -Rf ~/Library/Preferences/com.apple.Safari.RSS.plist;
rm -Rf ~/Library/Preferences/com.apple.Safari.plist;
rm -Rf ~/Library/Preferences/com.apple.WebFoundation.plist;
rm -Rf ~/Library/Preferences/com.apple.WebKit.PluginHost.plist;
rm -Rf ~/Library/Preferences/com.apple.WebKit.PluginProcess.plist;
rm -Rf ~/Library/PubSub/Database;
rm -Rf ~/Library/Saved\ Application\ State/com.apple.Safari.savedState;
Your browser application should restart once you make the adjustments, and it should be faster and appear brand-new. By doing this, malware-caused browser modifications and caches will have been cleared.
Method 4: Reset Chrome Sync Data
After completing the previous steps, reset your Chrome sync data to ensure that the malicious extension is not reinstalled during the synchronization process.
1. Go to Chrome settings by clicking on the three-dot menu icon and selecting “Settings.”
2. Click on your profile picture again and choose “Sync and Google services.”
3. In the “Sync” section, click on the “Reset Sync” button to reset your Chrome sync data.
4. Resetting the sync data clears any remaining traces of the malicious extension in your synced account, preventing it from being automatically reinstalled.
By following these step-by-step instructions, you can effectively disable Chrome sync. These measures will help eliminate the malware from your browser and prevent it from reappearing in the future.
