What is Killer Network Service?
Killer Network Service or Killernetworkservice.exe is a hidden process that assists monitor the computer processes that utilizes internet connection. Since it enhances your gaming experience when playing popular games, it is widely found and installed in gaming machines.
When a computer is open, hundreds of processes are all operating in the background, and this one is simply another one of them. However, it is well known that this particular procedure uses a significant portion of the computer’s CPU.
This, in turn, may have a detrimental effect on the experience when utilizing the computer, which instead of improving the gaming experience, may have the opposite effect.
Is the said process a malware?
Although Killer Network System, or KNS for short, is a legitimate process and not malware, other computer viruses, such the Trojan and Miner malware, exploit the name to prevent being spotted.
Check the following location to see if the process running on your computer is phony malware:
C:\programfiles\killernetworking\killercontrolcenter
Users who don’t have the genuine process will get a not found error, meaning the process they have installed is a fake. Additionally, verify that the file path of the aforementioned process corresponds to the directory listed above.
Is Killer Network Service Important?
Killer Network Service is an important process that aids the system when users are playing games and is therefore stated to improve the experience.
The said process, however, is not technically a component of the Windows or system processes, thus it is safe to say that it is not a necessary process and may be uninstalled whenever the user desires.
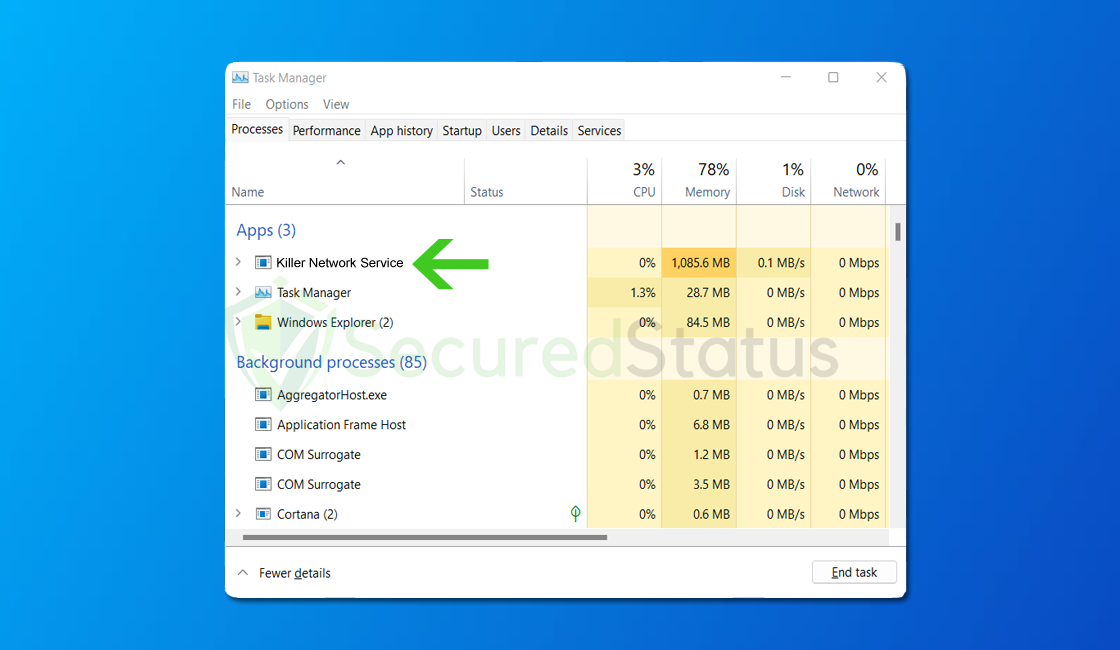
When it impairs the computer experience, it ceases to be useful and ought to be suspended. However, there might be a way to fix the Killer Network Service process instead of deleting it.
The instruction provided below explains how to fix the Killer Network Service, which is using a lot of CPU power, and get it back to normal operation.
Methods to Fix Killer Network Service High CPU Usage
Our staff has tried and tested each of the techniques suggested below because there could be a lot of significant causes for this issue. Try the following one until the issue is resolved if the first one doesn’t work for you.
Method 1: Disable the Killer Network Service Process
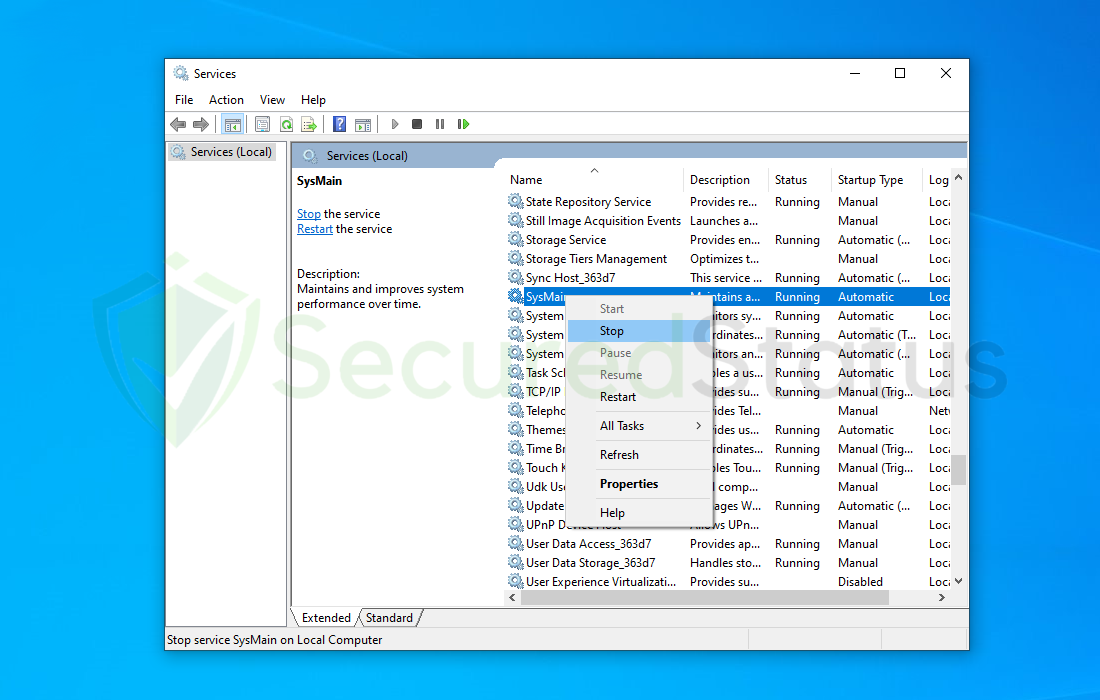
For this example we will be using the Superfetch process. Please note that Killer Network Service is the process you have to disable.
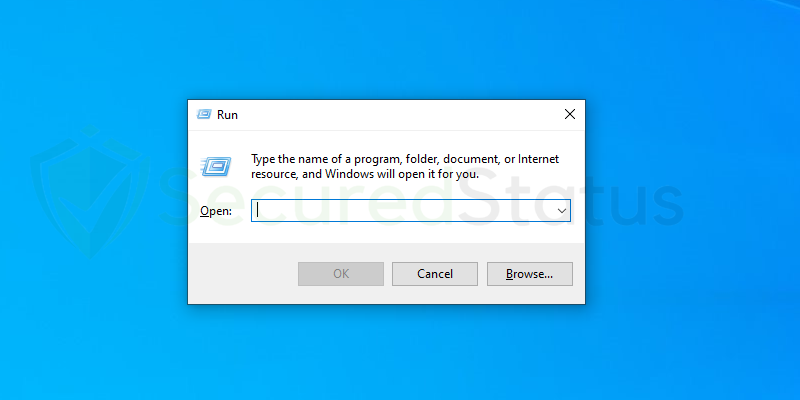
1 Open the Windows Run application by clicking the Windows button and R at the same time.
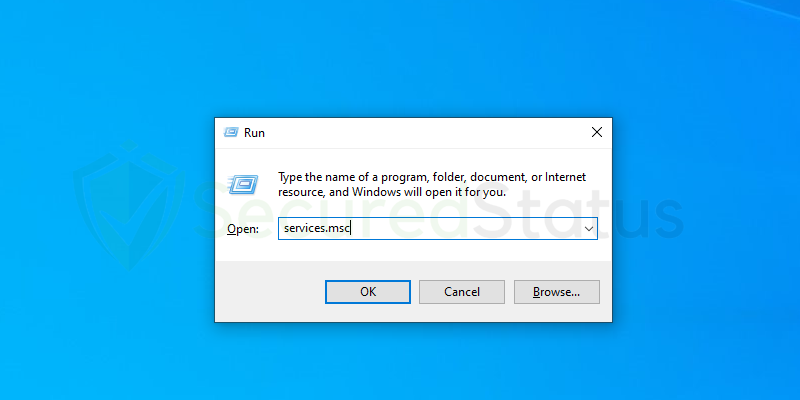
2 Type services.msc into the text box and click OK.
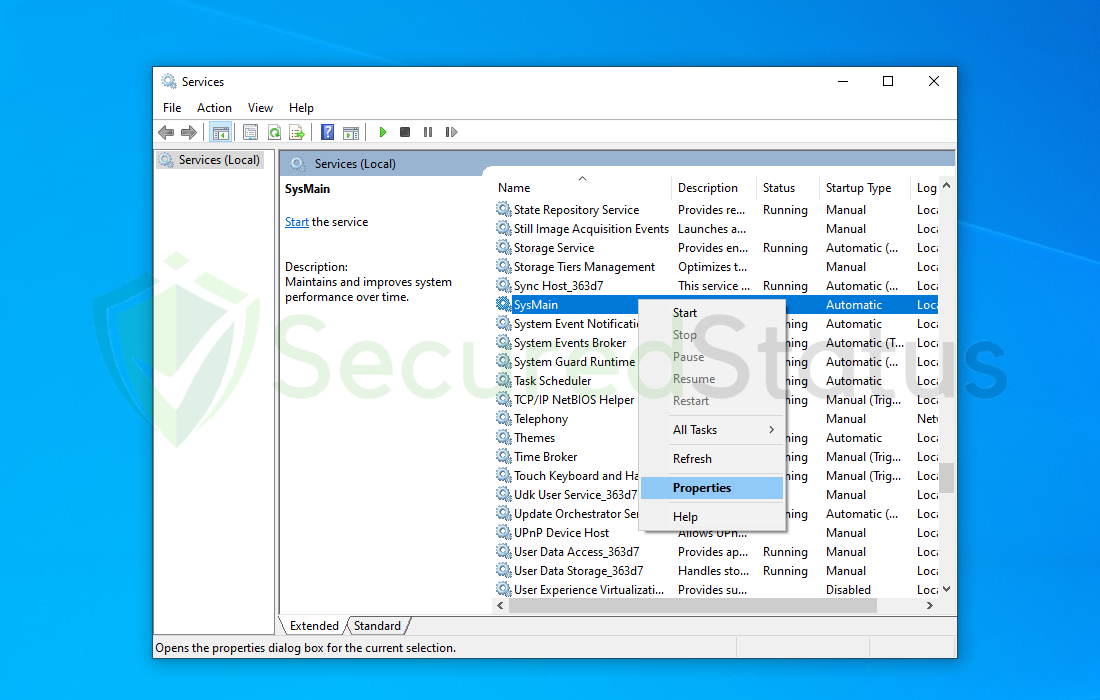
3 Once the Services application launches, scroll down and locate Killer Network Service. Right click the said service and click Stop.
4 Right click the said process again and click Properties.
5 Set the Startup type to Disabled then click Apply and OK.
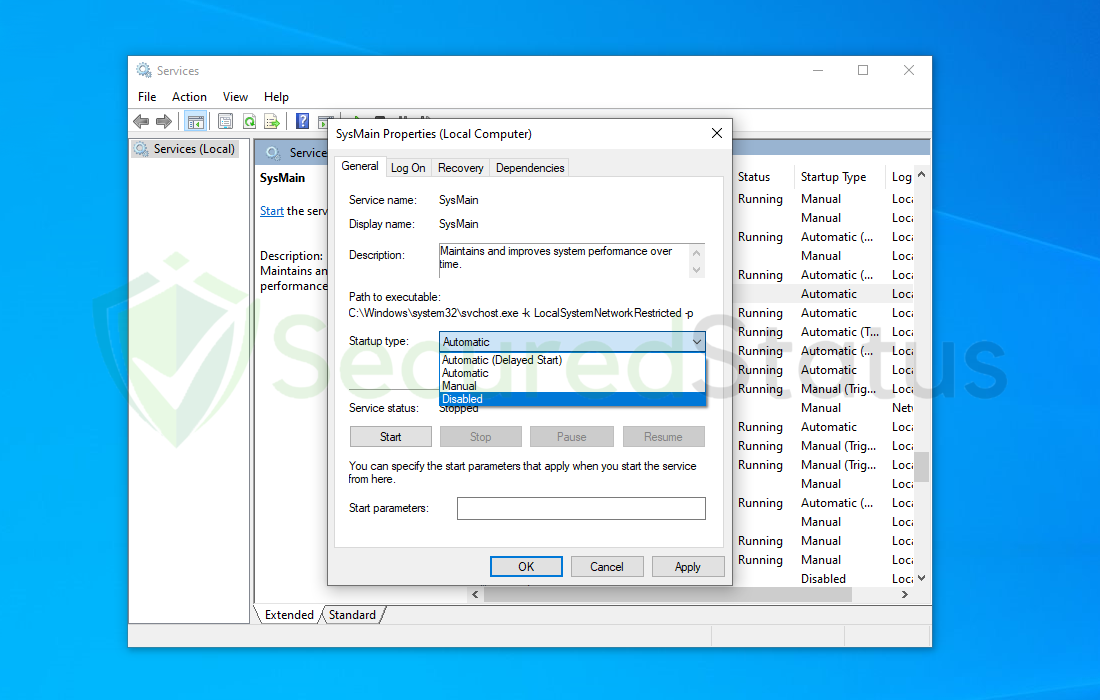
Now, Killer Network Process has now halted and every time the computer booted, it will be disabled so it should fix your problem. Unless you wish to fully uninstall the process please follow the procedure below this section.
Method 2: Uninstall Killer Network Process
In order to make things simpler, we will now give you two options for removing the Killer Network Process: manually through the control panel and automatically with REVO uninstaller.
Removing the Program Manually via Control Panel

1 Search Control Panel in the Windows search bar then click it.
2 The Control Panel should open, from there click Programs then Programs and Features.
3 A list of installed software will show on the screen after a moment.
4 Scroll down and find Killer Network Manager Suite as well as Killer Wireless Drivers then right click the application and select Uninstall
Removing the Program Utilizing Revo Uninstaller
For computer users who are not sure of what to do. You may resort to using Revo Uninstaller since it is much more effective and easy to use. Revo Uninstaller is a very useful tool for Windows users.
This uninstaller not only removes programs from the computer but it also deletes their changes from the Windows Registry, Host File and etc.
1 Using your browser, head over to their official website (click here) and download the latest software that is compatible with your system.
2 Open the downloaded file and it should guide you through the setup.
3 Follow the installation procedure and wait until the installation of the software is complete.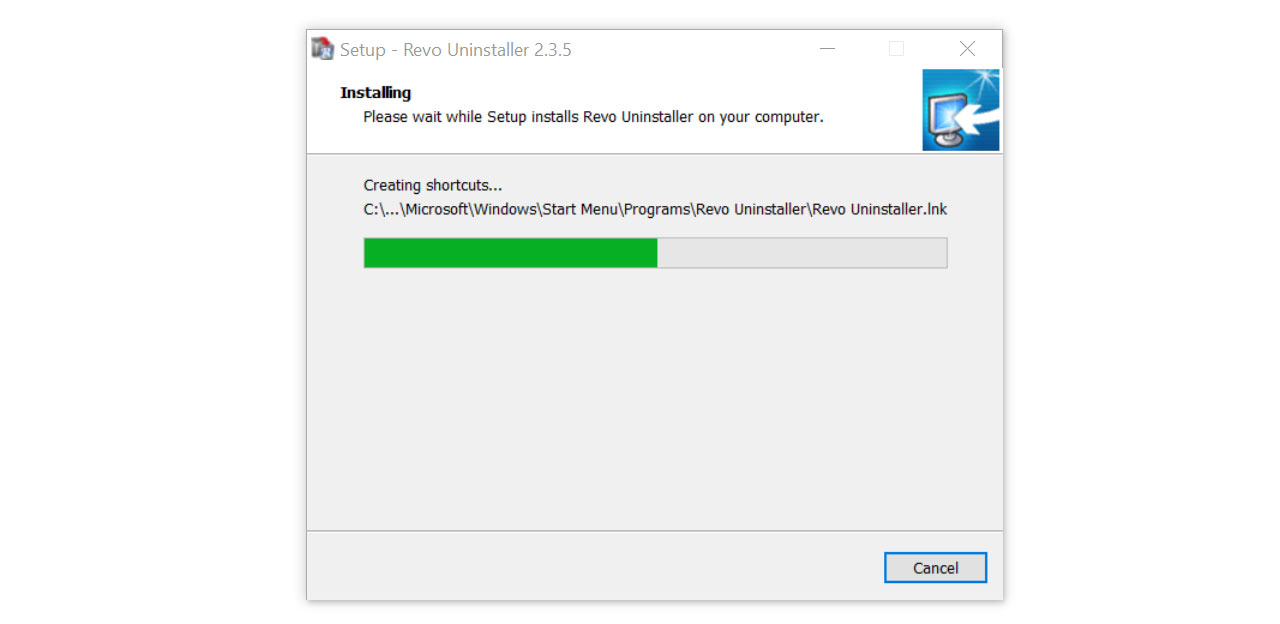
4 After the installation is finished, tick the box that says Launch Revo Uninstaller then click finish.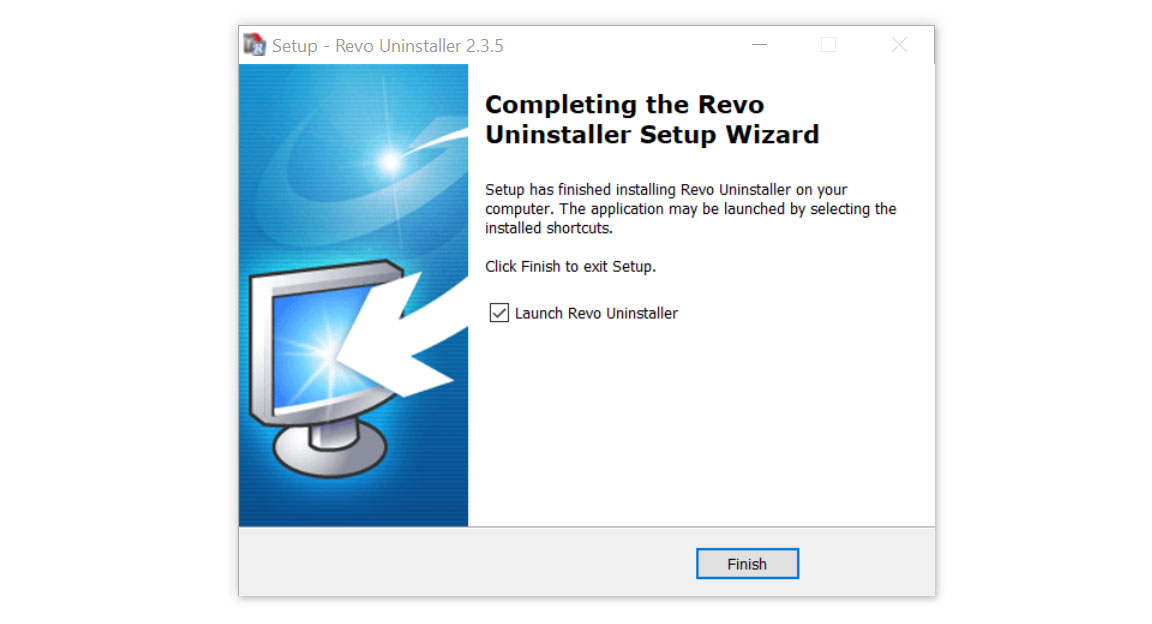
5 Once the software has launched, find the applications (Killer Network Manager Suite and Killer Wireless Drivers) then double click the program to uninstall.
6 Click on the Continue button and follow the procedure to start uninstalling the program. (For this example we will be using Mozilla Firefox.)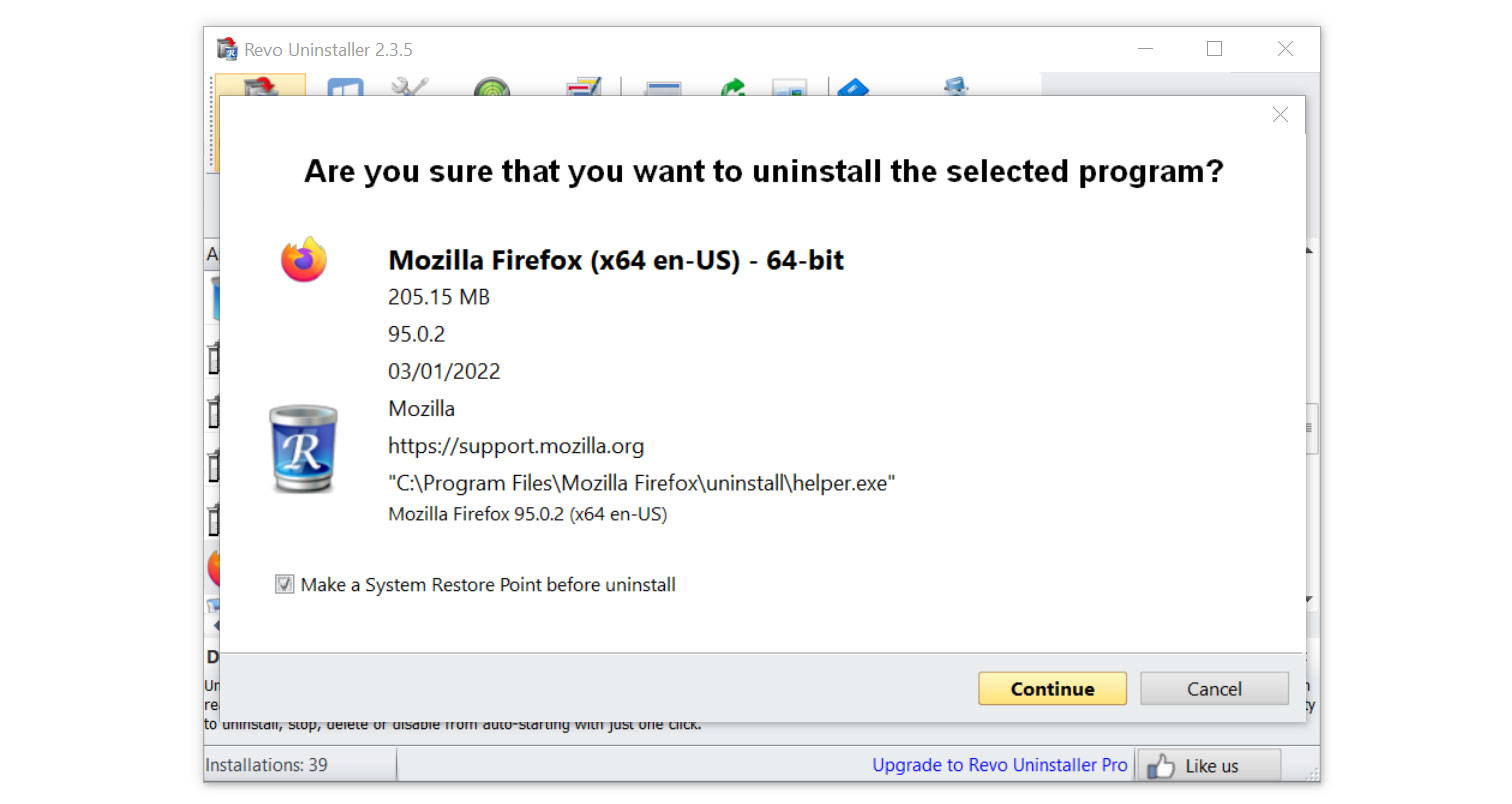
7 Once it is uninstalled, a window will pop-up. Select the Advanced option for the scanning mode then click Scan to find remnants of the Killer Network applications.
8 A window will pop-up and show all of the leftovers and changes made by the program uninstalled a while ago.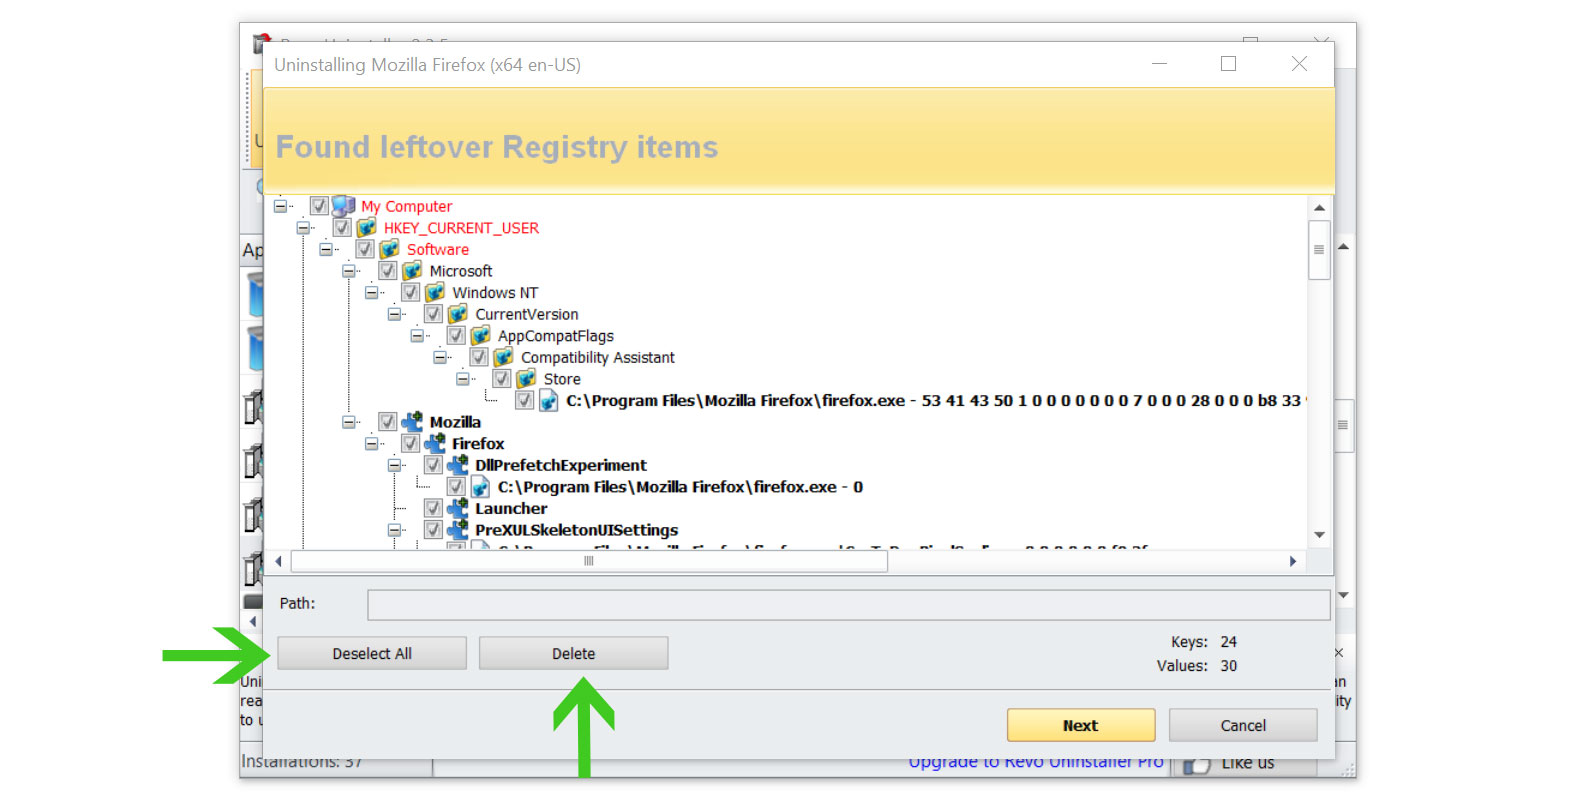
9 Click the Select All button and hit Delete to remove the leftovers found on the Windows Registry.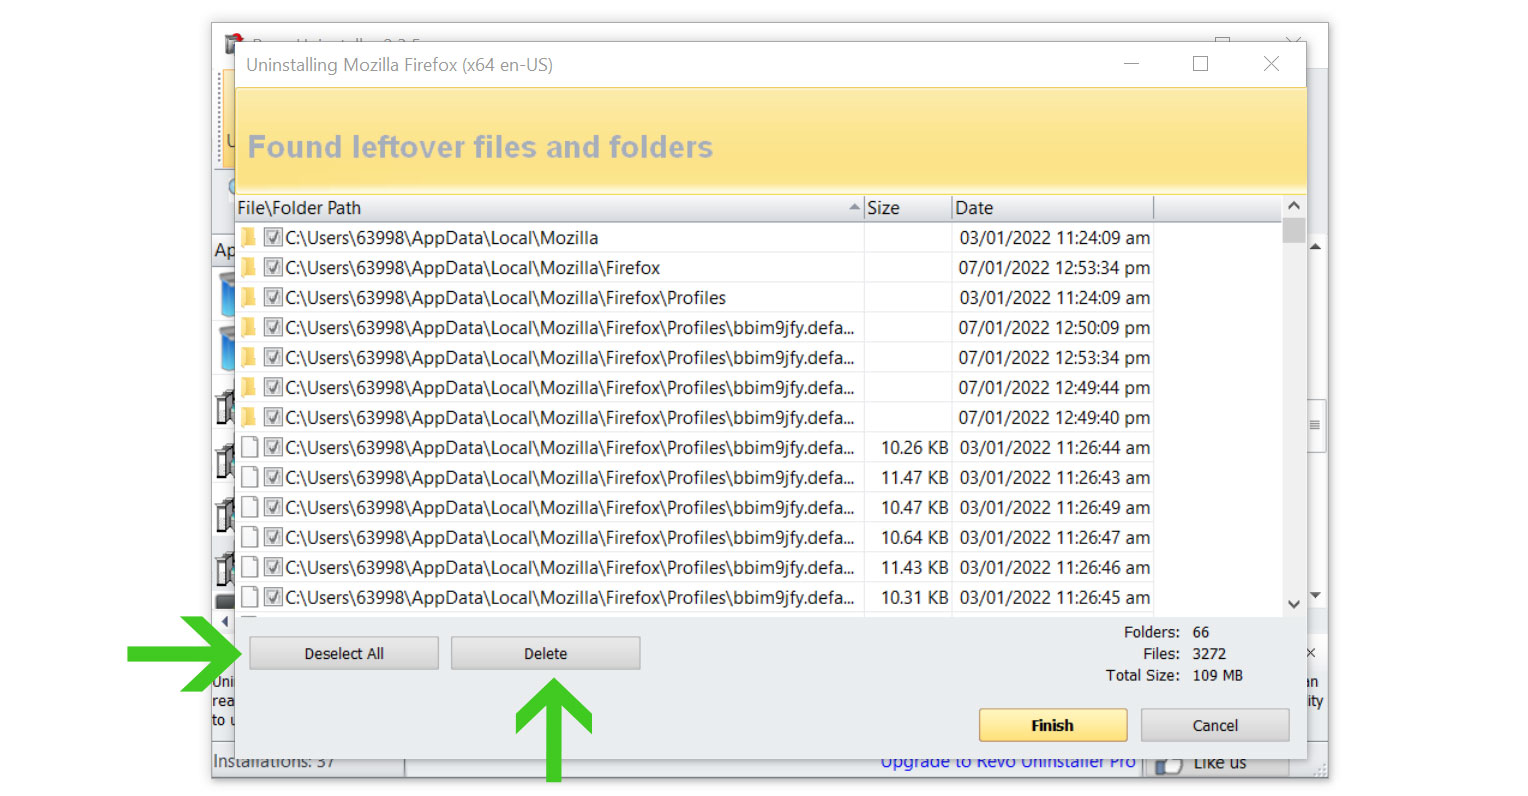
10 Some leftover files may be found, click Select All then Delete them as well. Once the window closes, you have successfully removed the adware threat from your system.
Method 3: Scan the System for Malware
In case that Killer Network Service is a malware in disguise, we recommend using Malwarebytes Anti-malware because we have determined that it can remove most types of malicious threats when we conducted malware tests.

Malwarebytes also offers a free 14-day trial when you download it for the first time, so you might want to use the remaining time of the trial to test out the premium features.
1 Click the button above to download the latest version of Malwarebytes Anti-malware.

2 Open the installation file after the download and follow the procedure shown.
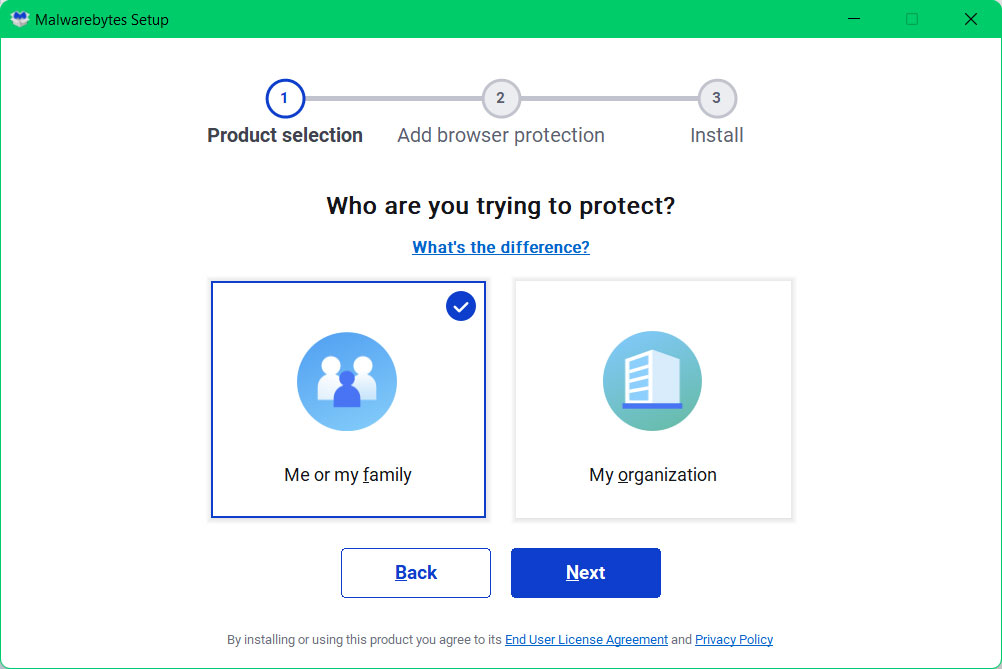
3 After following the software setup instructions, wait for the application to finish installing.

4 Once the application is installed, you may now run your first computer scan and wait for it to finish.
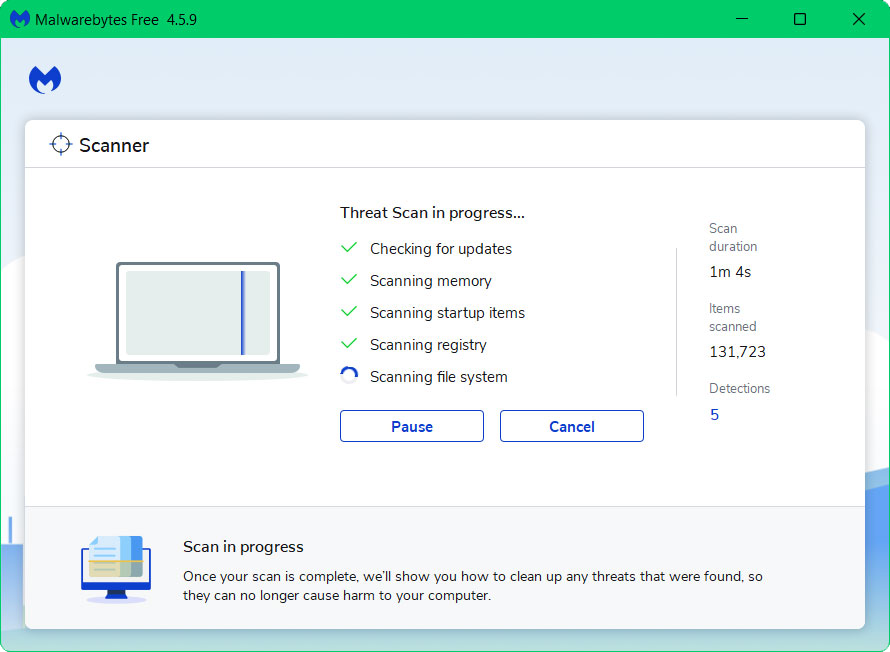
5 All discovered malware on the computer will be displayed on the screen, and you can eliminate them by pressing the “quarantine” button.
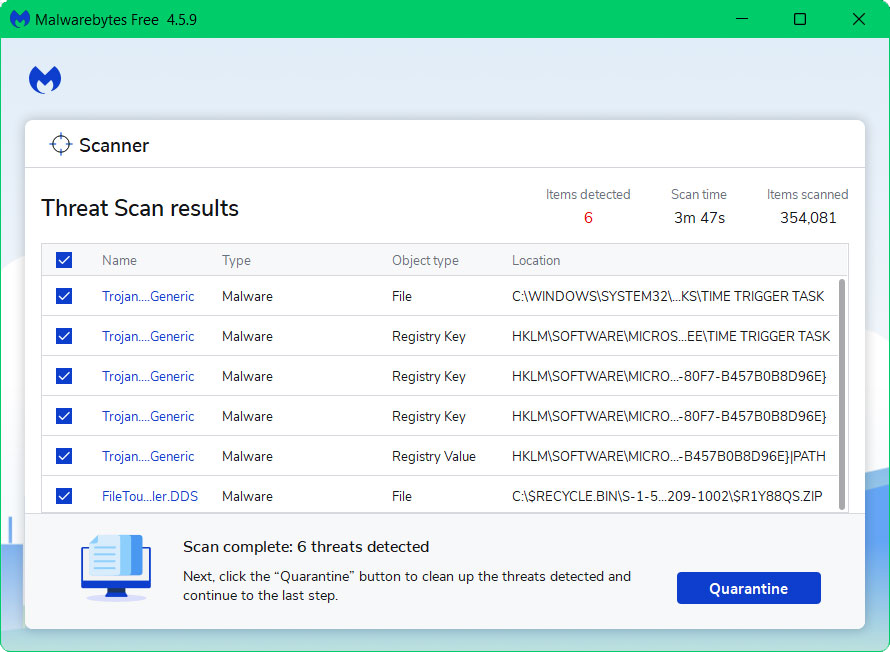
Any potential malware that may have been hiding on your system has now been eliminated, and the modifications it made to the system have been undone.
You may see to it that the Killer Network Service process will cease to use significant amount of CPU because the miner virus has been deleted.
