In the end, they were unable to access these websites, but they are still able to explore other websites of various categories besides antivirus websites.
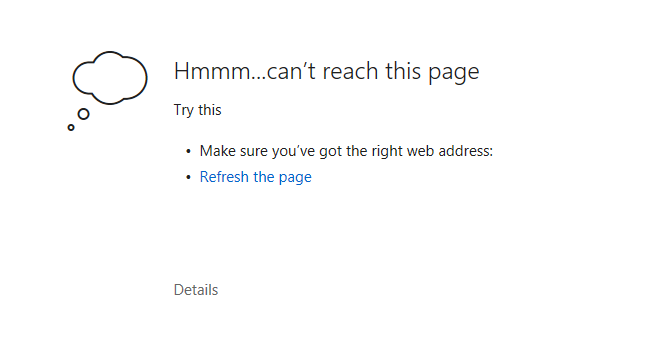
A malware infection in the computer system might be brought on by this kind of problem. Usually, it operates in this manner to prevent the user from setting up antivirus software that could successfully remove the virus. Malware developers make it so that users can’t access these programs to stop it from happening.
Why am I unable to access antivirus websites?
However, malware infection may not be the only cause of an error or browser crash while visiting antivirus websites. There may be other factors as well. The following are a few of the possible factors that the issue could also be due to:
Corrupted Host File: Whether or not the computer has been infected with malware, modifications to the host file give it access to specific networks and websites. This could be the likely reason if you recently modified the host file.
Browser Extensions: Plugins are programs designed to improve internet browsing. They sometimes contribute to these issues as well. If you just installed one, see if it has any permissions that prevent people from accessing particular websites.
Virtual Private Networks (VPNs): Using or having a VPN program may also be a factor in your inability to access specific websites. There are IP addresses issued to each nation that you can use to access content, however, some websites forbid VPN access for security concerns.
A malware infection will still be the primary cause of this issue, even though there may be other contributing factors. Because if particular websites, like those for antivirus software, are being restricted, it’s quite likely that a virus in the system does not want to get detected.
Methods to Fix Browser Unable to Access Antivirus Sites
Here is a step-by-step guide to fixing the problem of the browser not being able to access antivirus websites.
Our staff has thoroughly examined every technique and developed this manual to assist users in removing malware and restoring a clean computer.
Step 1: Flush DNS Cache
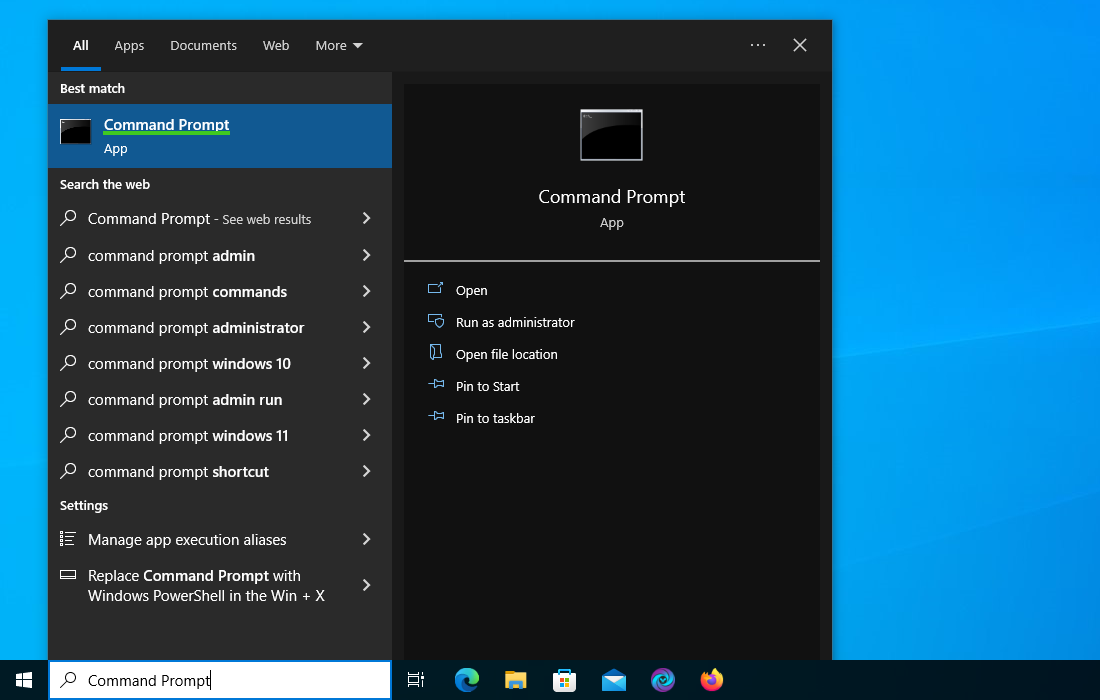
1 Click the Windows button and search for Command Prompt (CMD).
2 Run Command Prompt and type ipconfig/flushdns then hit enter.
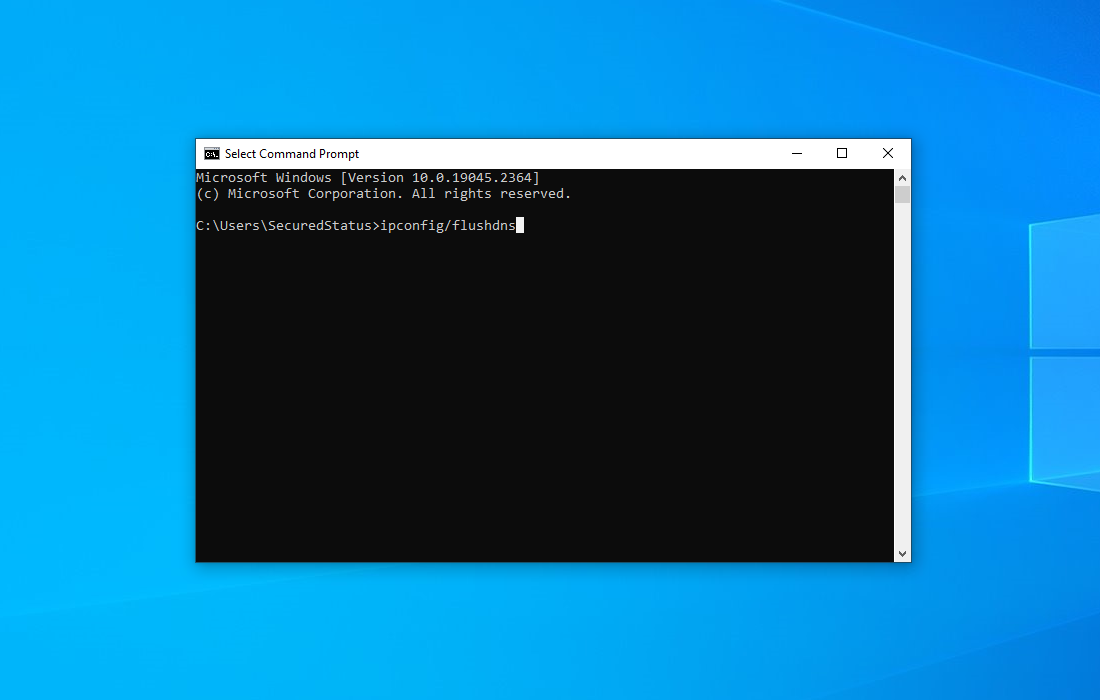
After that, the DNS resolver cache on the Windows system would have been successfully flushed via Command Prompt. You can now enter the antivirus website. If it is still not possible, proceed to the guide below.
Step 2: Manually Remove Malware from System
Malware removal with antivirus software might not be possible, but you can remove it yourself. To locate and get rid of the harmful virus on the computer, follow this step-by-step guide.
Since this kind of computer threat mimics an application, it’s critical to try and identify the program’s origin and remove it from the system as soon as you can to prevent additional harm.
It’s important to note that finding the software can be challenging because many dangerous programs masquerade as trustworthy applications or system files. When you have browser hijacker symptoms, you can find the program by using the Task Manager to look for any suspicious programs that are currently active.
Remove the Malware Program via Control Panel

1 Search Control Panel in the Windows search bar then click it.
2 The Control Panel should open, from there click Programs then Programs and Features.
3 A list of installed software will show on the screen after a moment.
4 Scroll down and find any suspicious programs you did not download then right-click the application and select Uninstall
Remove Malicious Extension from Browser
Sometimes the source of the problem can be found inside a browser as a web plugin. It is most likely disguised within the web browser itself if you don’t notice any strange files or applications on your computer.

Google Chrome:
Click the three-dot buttons in the right-hand corner of the Chrome Browser. Find and click More Tools from the drop menu, then select Extensions.
A new tab will appear with all your installed extensions. Find which extension is suspicious and delete it. To deactivate the extension, toggle the blue switch to disable the program. Then click the remove button to fully uninstall it from Google Chrome.
If the switch is disabled: You have to remove the extension from within the extensions folder manually. Go to the Google Chrome extensions folder by using the following directory:
C:\Users\YOUR NAME\AppData\Local\Google\Chrome\User Data\Default\Extensions
You will see a list of folders with different hashes, to find what you need to delete, tick the Developer mode in the Google Chrome extensions tab to show the id of downloaded plugins.
Find the one matching the id of the extension you wish to remove to the one in the folder then delete it. Restart Google Chrome and the extension should be gone.

Mozilla Firefox:
Click the Menu button in the right corner of Firefox once it’s open. Then go to Add-ons and Themes then select Extensions.
Toggle the blue switch to disable the suspicious extension after finding it. Click Remove from the three dots icon on the right side of the extension you want to remove.

Microsoft Edge:
Open the Microsoft Edge application then click on the three dots on the upper right. A drop-down menu will show then click Extensions.
A new tab will open and show all installed extensions on the browser. Find the suspicious extension that you might have not installed.
Slide the blue switch to disable the use of the extension. Click on the remove button just below the extension.

Safari:
Open the Safari browser then click on Safari on the Menu Bar on top. Choose Preferences from the drop menu. A window should appear, then click the Extensions tab.
Search for suspicious extensions you did not install. Click the unwanted extension then select the remove button.
Remove Malware with Revo Uninstaller
For computer users who are not sure of what to do. You may resort to using Revo Uninstaller since it is much more effective and easy to use. Revo Uninstaller is a handy tool for Windows users.
This uninstaller not only removes programs from the computer but also deletes their changes from the Windows Registry, Host File, etc.
1 Click the button above and download the latest software that is compatible with your system.
2 Open the downloaded file and it should guide you through the setup.
3 Follow the installation procedure and wait until the installation of the software is complete.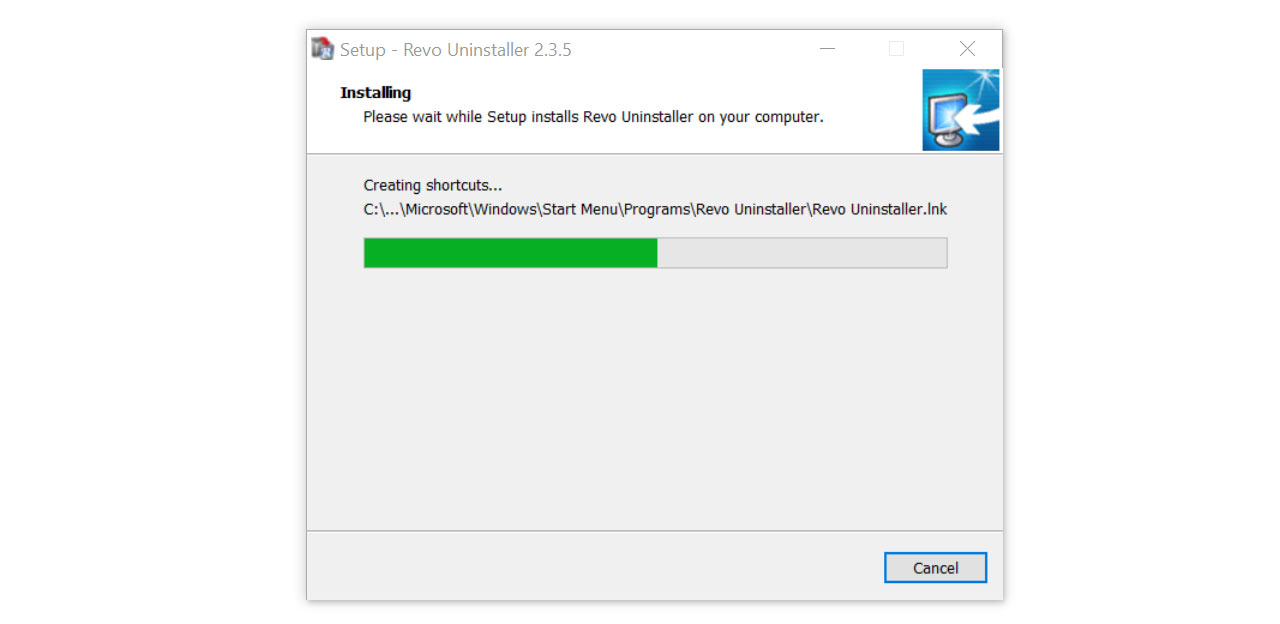
4 After the installation is finished, tick the box that says Launch Revo Uninstaller then click finish.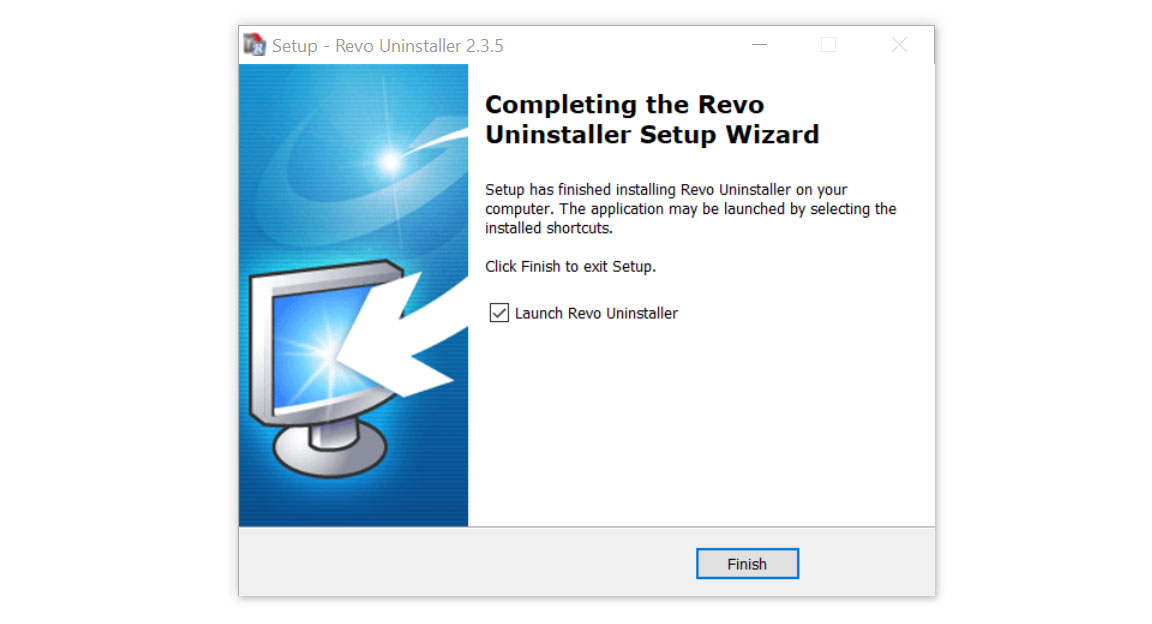
5 Once the software has launched, find the unwanted application that is needed to be removed, double click the program to uninstall.
6 Click on the Continue button and follow the procedure to start uninstalling the program.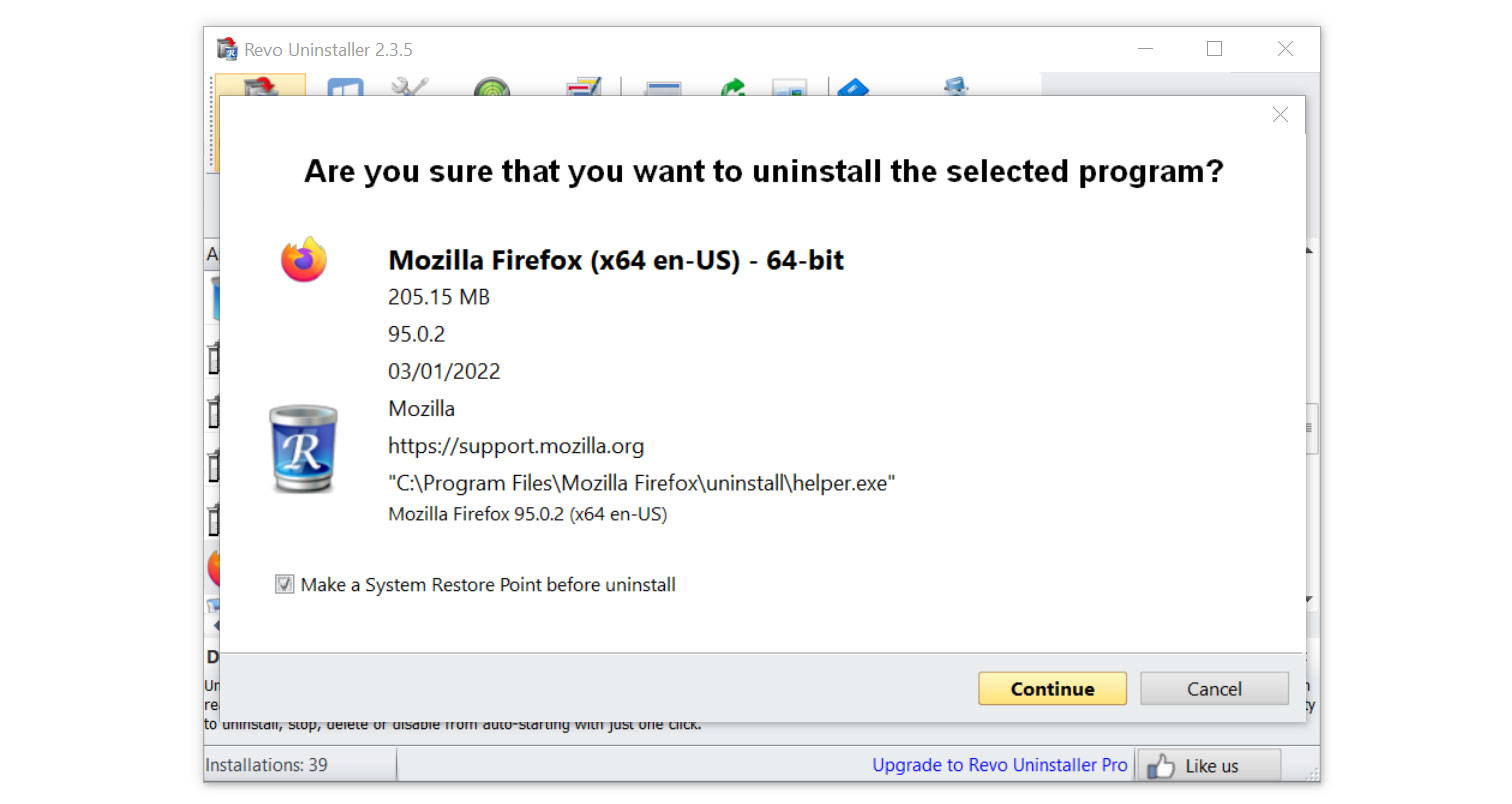
7 Once it is uninstalled, a window will pop up. Select the Advanced option for the scanning mode then click Scan to find remnants of the malware.
8 A window will pop up and show all of the leftovers and changes made by the program uninstalled a while ago.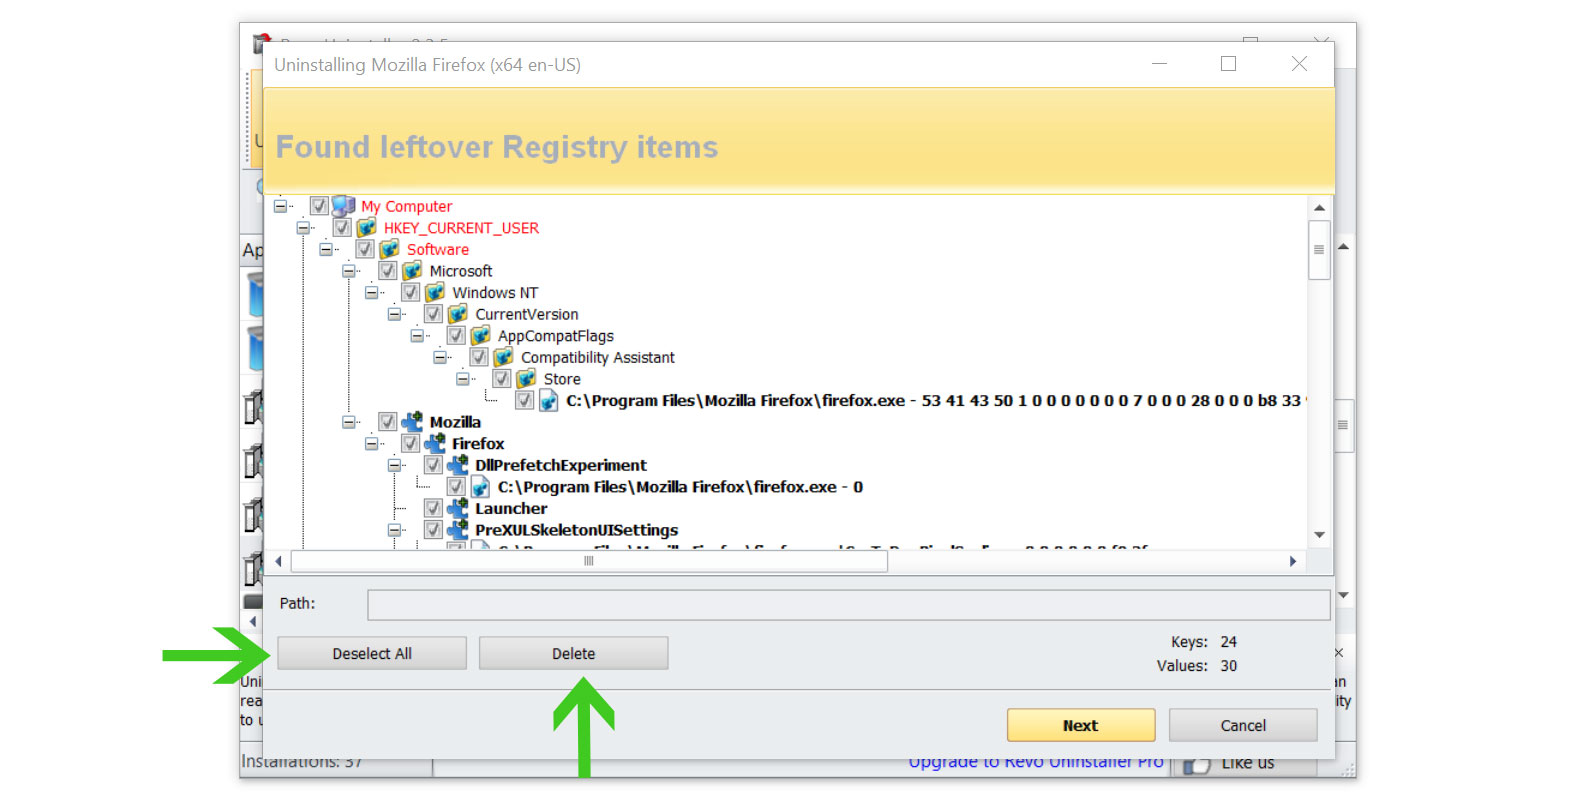
9 Click the Select All button and hit Delete to remove the leftovers found on the Windows Registry.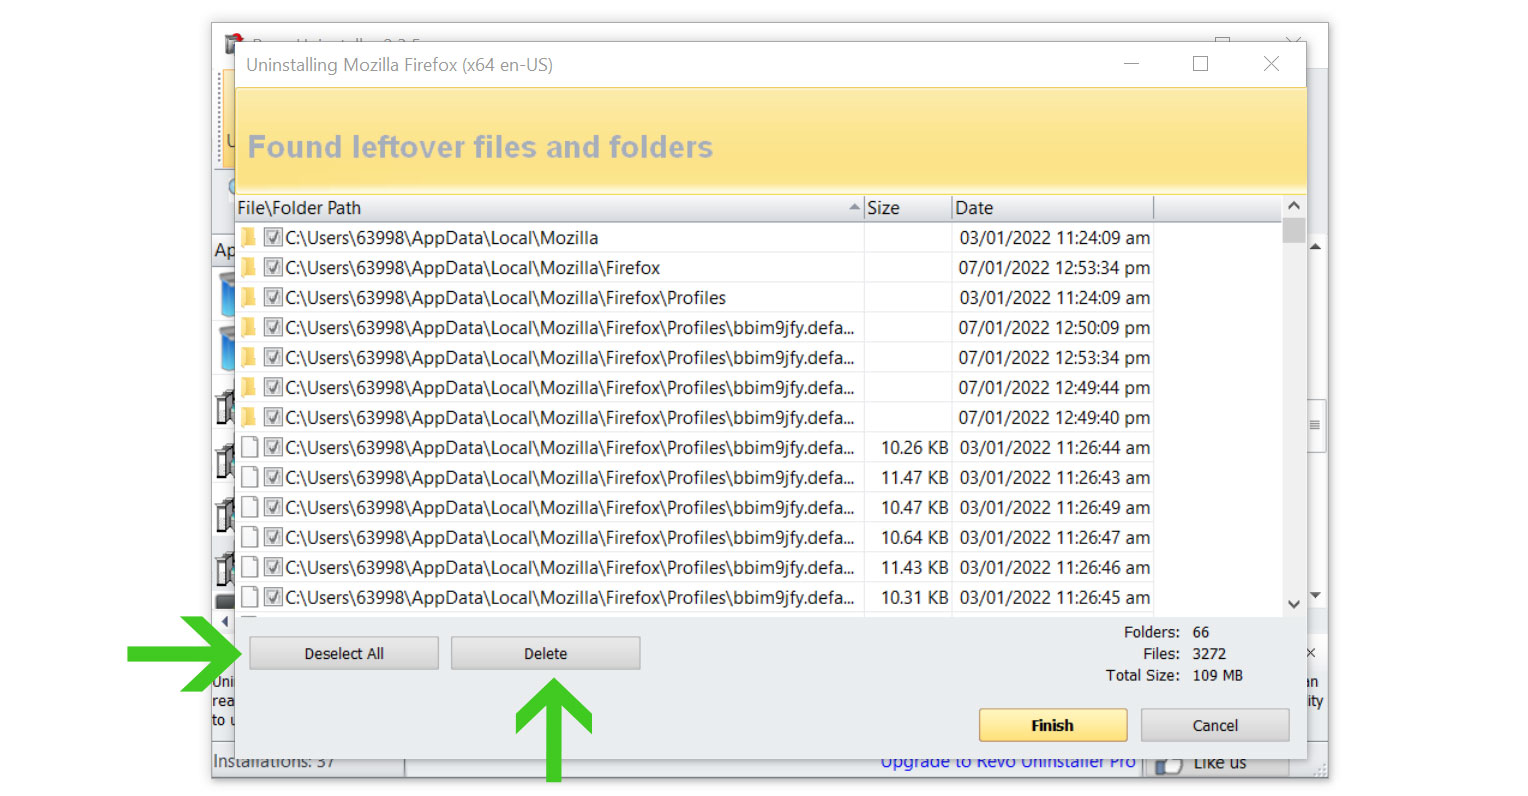
10 Some leftover files may be found, click Select All then Delete them as well.
11 Once the window closes, you have successfully removed the malware threat from your system.
Step 3: Install Antivirus Program in Safe Mode with Networking
Safe mode prevents any additional processes from running in the system which means the malware will be completely shut off when utilizing this Windows mode. In this case, we can install an antivirus application from here.
Here is how to boot into Safe Mode with Networking:
To boot into Safe Mode, first, open the system configuration by pressing Windows Key + R button then type “msconfig.exe“.

Once the System Configuration window appears, click Boot next to General then check the Safe Boot from Boot options. Below that, tick the Network option to allow internet within the Safe Mode then click Apply, once everything is done and the computer should be restarted into safe mode.

Once the computer has restarted and you are in Windows Safe mode, it is time to install antivirus software so that it can do a malware scan and eliminate any threats preventing you from accessing particular websites.
We recommend using Malwarebytes Anti-malware because we have determined that it can remove most types of malicious threats when we conducted malware tests.

Malwarebytes also offers a free 14-day trial when you download it for the first time, so you might want to use the remaining time of the trial to test out the premium features.
1 Click the button above to download the latest version of Malwarebytes Anti-malware.

2 Open the installation file after the download and follow the procedure shown.
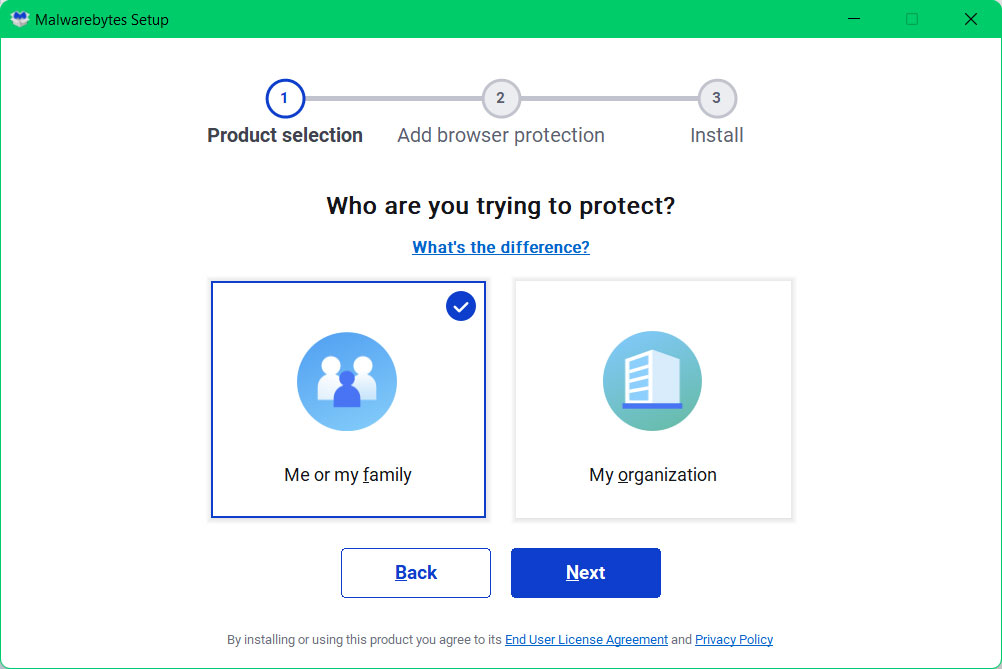
3 After following the software setup instructions, wait for the application to finish installing.

4 Once the application is installed, you may now run your first computer scan and wait for it to finish.
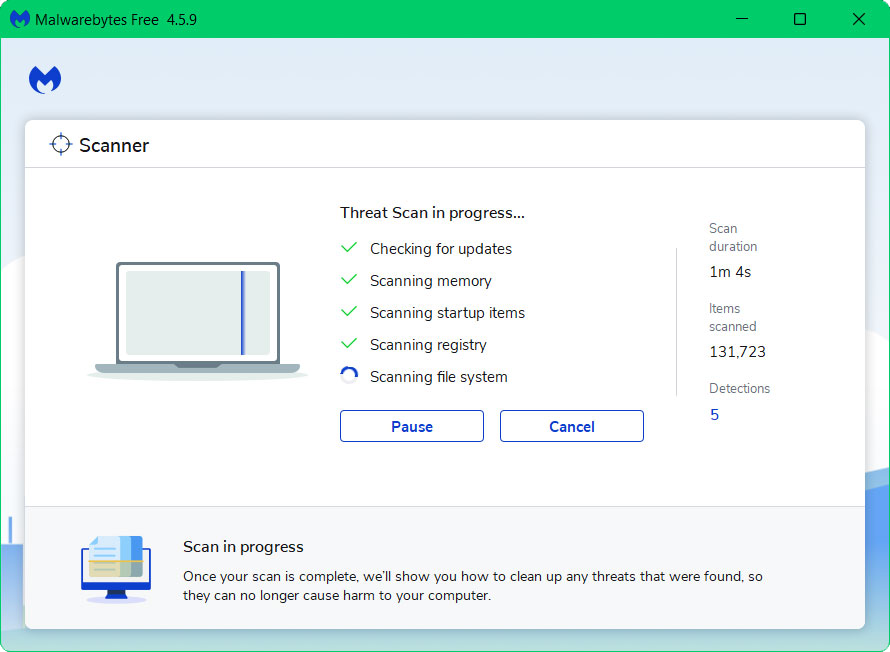
5 All discovered malware on the computer will be displayed on the screen, and you can eliminate them by pressing the “quarantine” button.
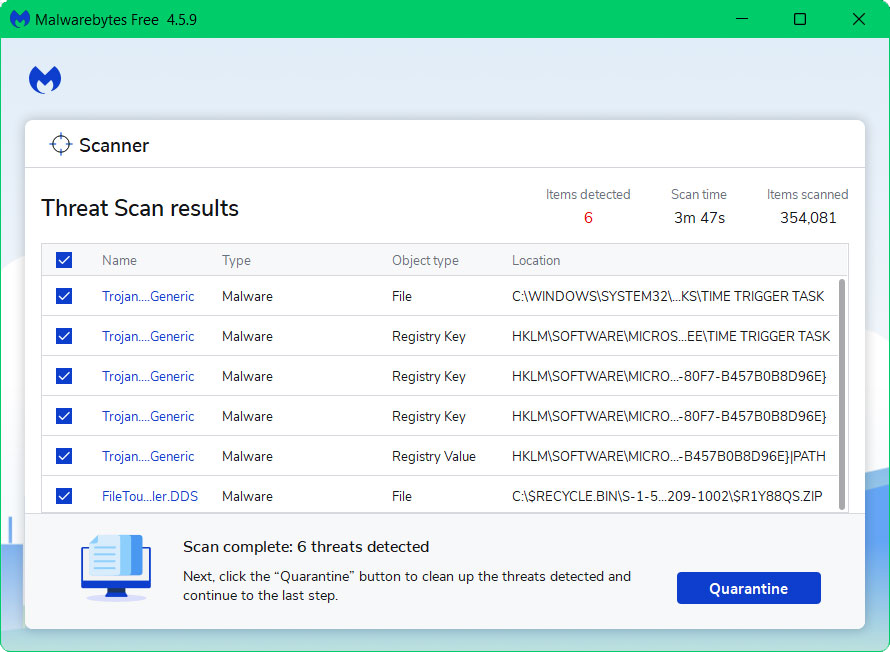
Any potential malware that may have been hiding on your system has now been eliminated, and the modifications it made to the system have been undone. You may see to it that browsing antivirus websites is now accessible when you switch back to the default Windows mode.
