Service Host: Storage Service is an essential component of the Windows Operating System. When Service Host: Storage Service is infected or corrupted, programs won’t execute properly, which could result in a variety of problems such as high CPU usage.
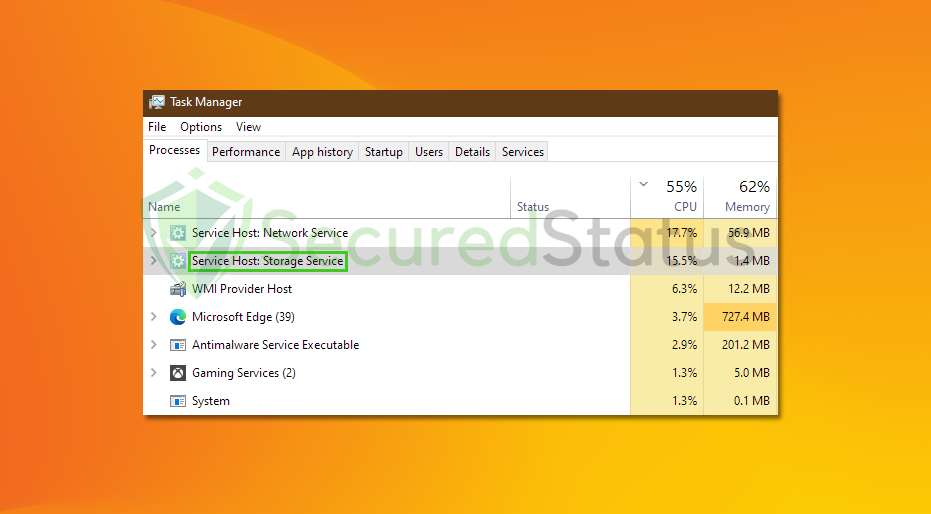
The aforementioned process is not malware, although there are times when a certain infection or system configuration could corrupt or infect Service Host: Storage Service, causing errors and a sluggish computer.
If your computer’s Service Host: Storage Service executable behaves considerably differently, it may be feasible to repair it. Following the tutorial below will enable you to repair the problematic executable software and restore your computer’s regular operation.
Methods to Fix Corrupted Service Host: Storage Service
Each method listed below has been tried and tested by our experts because there could be several factors for this problem. If the first one doesn’t work for you, try the next one until the problem is fixed.
Method 1: Utilize System File Checker and DISM Cleanup
DISM Cleanup and the command-line tool Windows System file checker can be used to verify the stability of all significant system files. Additionally, it checks to determine whether any system files are missing or corrupted by comparing them to their original versions.
1 Click the Windows Button from the keyboard and search for CMD or Command Prompt.
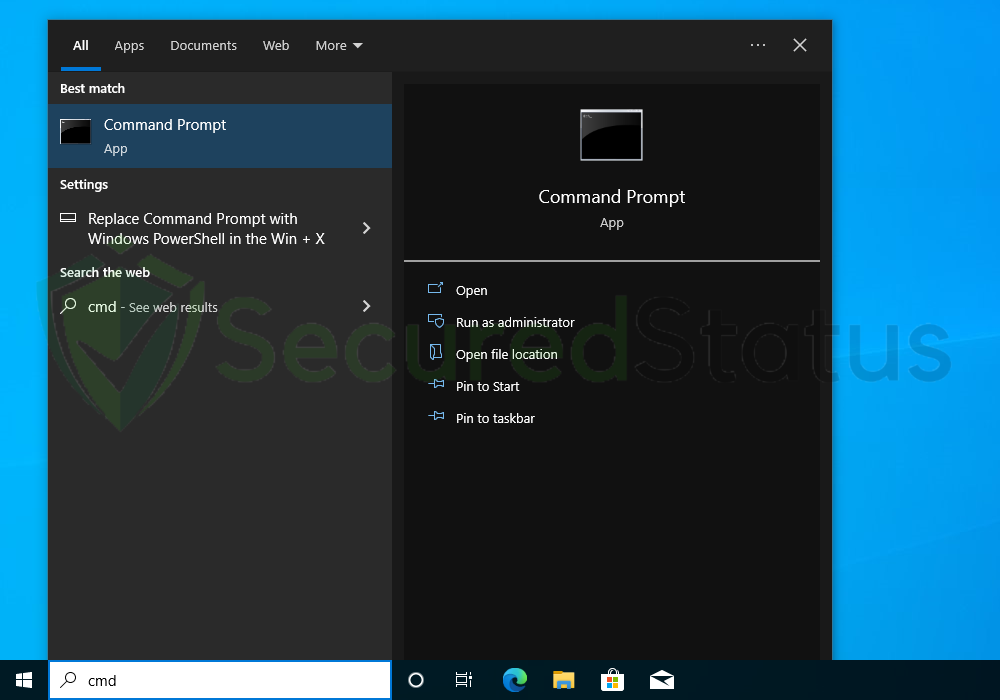
2 Right click the Command Prompt application and select Run as administrator.

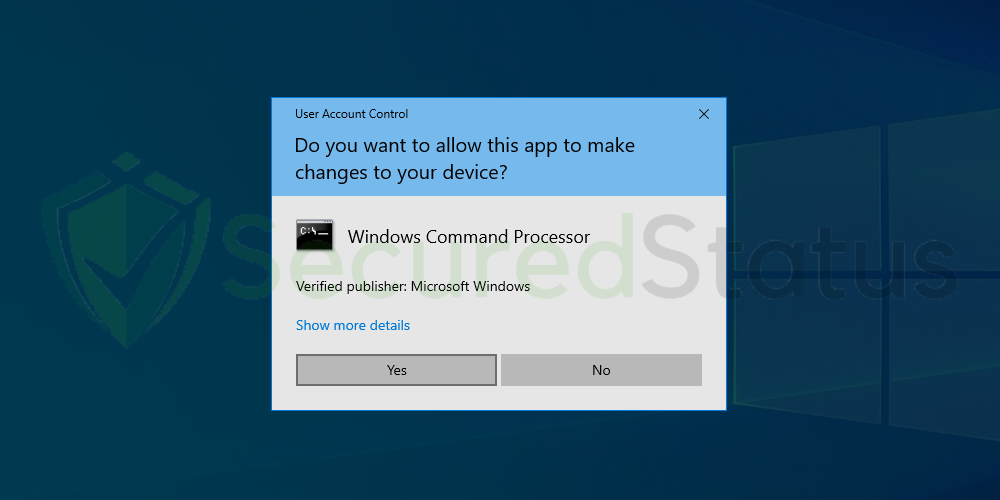
3 The User Account Control confirmation message will pop-up, click Yes to proceed.
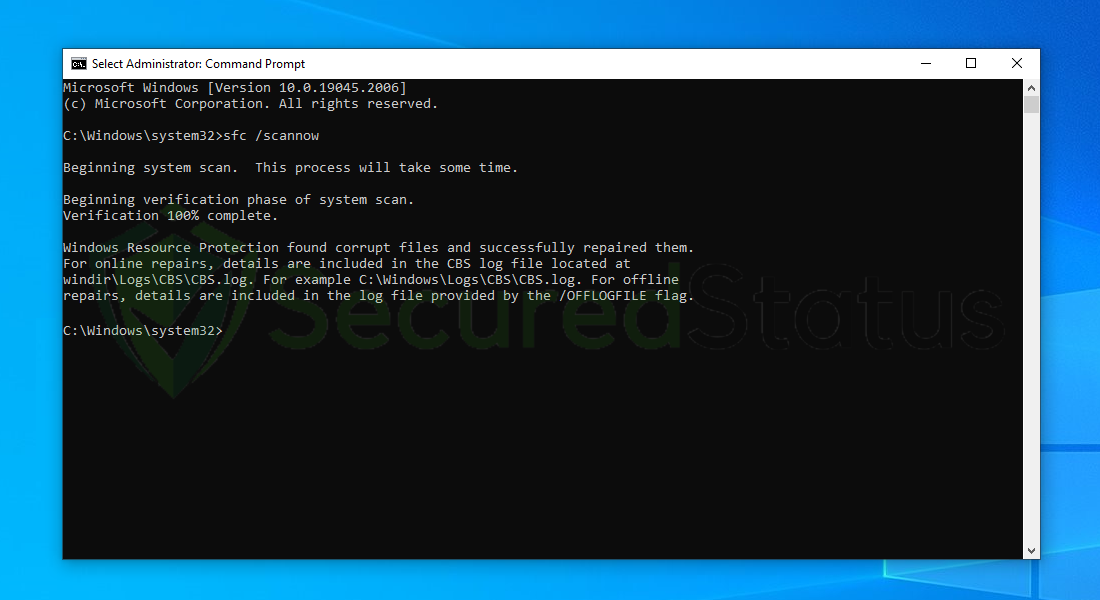
4 Once the Command Prompt opens, type sfc /scannow and hit enter. Please be patient for a few minutes as the scan will start and could take some time.
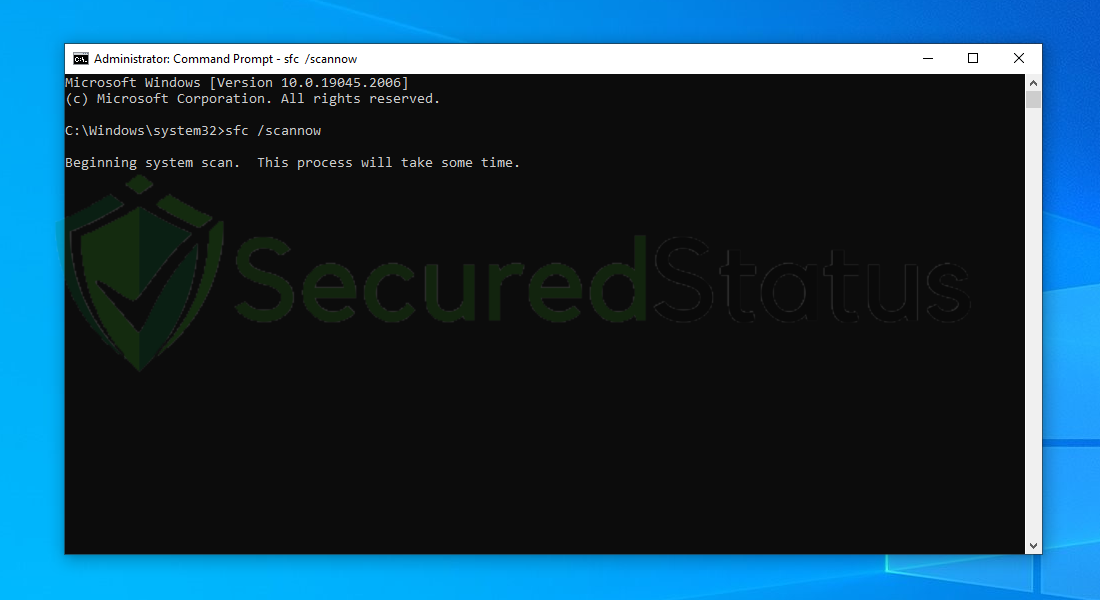
5 After the scanning process it will report that it have successfully found corrupt files and have repaired them.
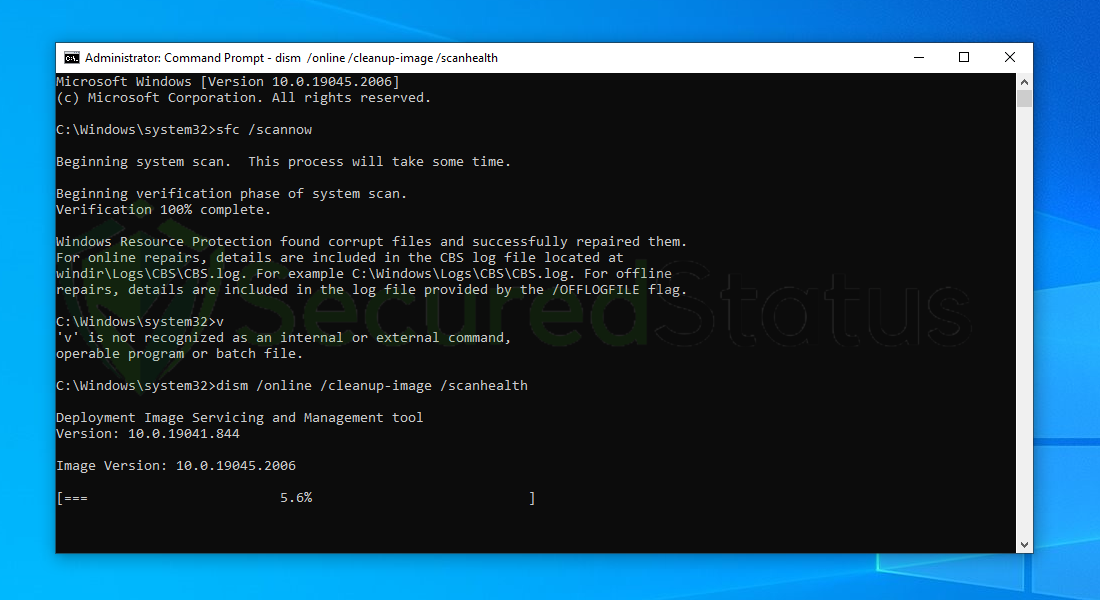
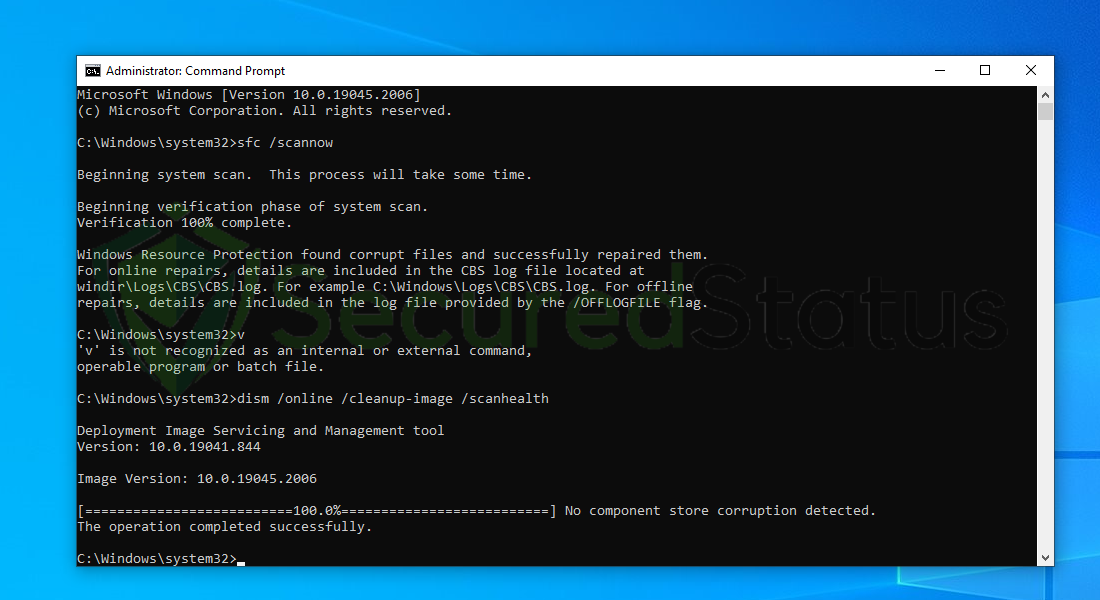
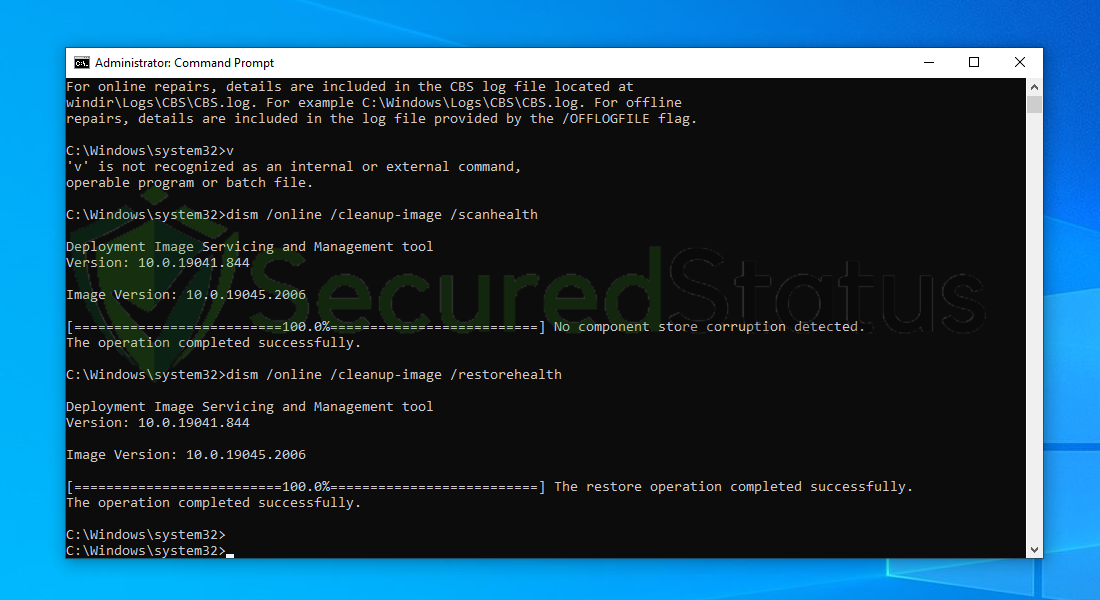
6 Next is to use the DISM Cleanup to patch faulty files in the computer system. Type dism /online /cleanup-image /scanhealth onto the command line and hit enter. Wait for a few minutes while it is scanning.
7 After the scan is complete, it will report that the operation is successful and that all corrupted components will be fixed.
8 Lastly, in order to fix serious windows errors, we will use the restore health command. Type dism /online /cleanup-image /restorehealth and hit enter once again to start the scanning process.
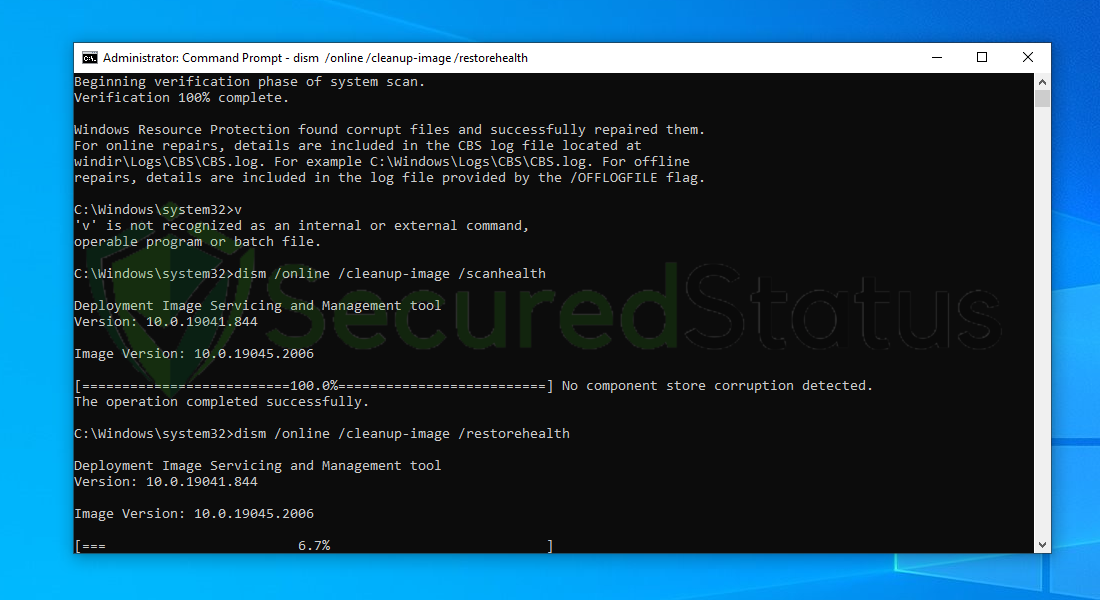
9 Once the scan is complete, it will report that the operation was successful and corrupted files and entries are resolved.
Method 2: Scan for Malware
Most of the time, corrupted system files are caused by malware inside the system. When it comes to removing malware-related problems on the computer, it is best to utilize the anti malware software provided by Malwarebytes.
We have determined that it can remove most types of malicious threats when we conducted malware tests.

Malwarebytes also offers a free 14-day trial when you download it for the first time, so you might want to use the remaining time of the trial to test out the premium features.
1 Click the button above to download the latest version of Malwarebytes Anti-malware.

2 Open the installation file after the download and follow the procedure shown.
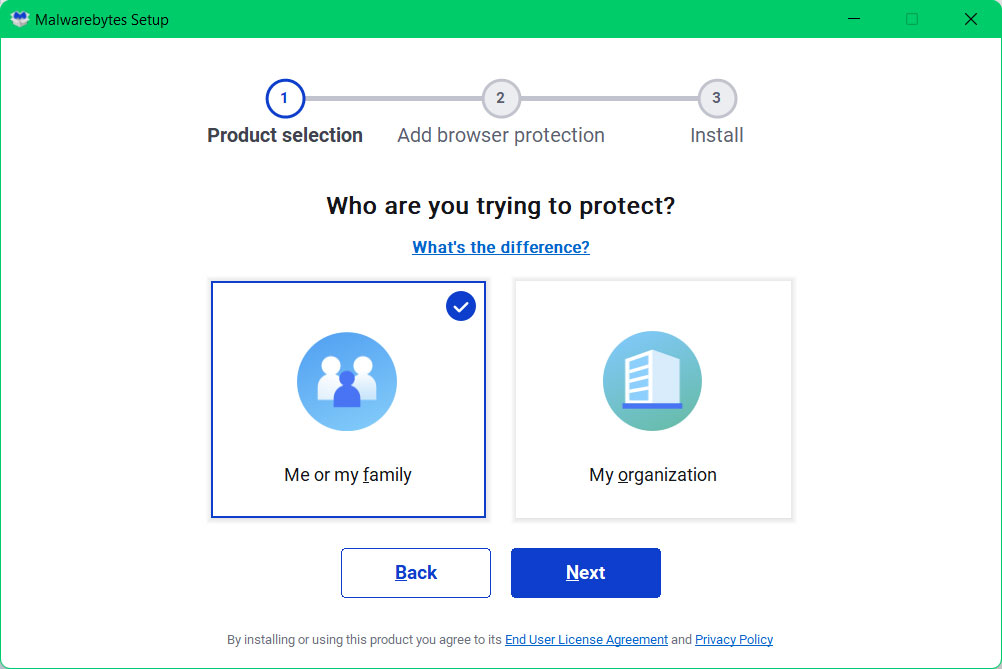
3 After following the software setup instructions, wait for the application to finish installing.

4 Once the application is installed, you may now run your first computer scan and wait for it to finish.
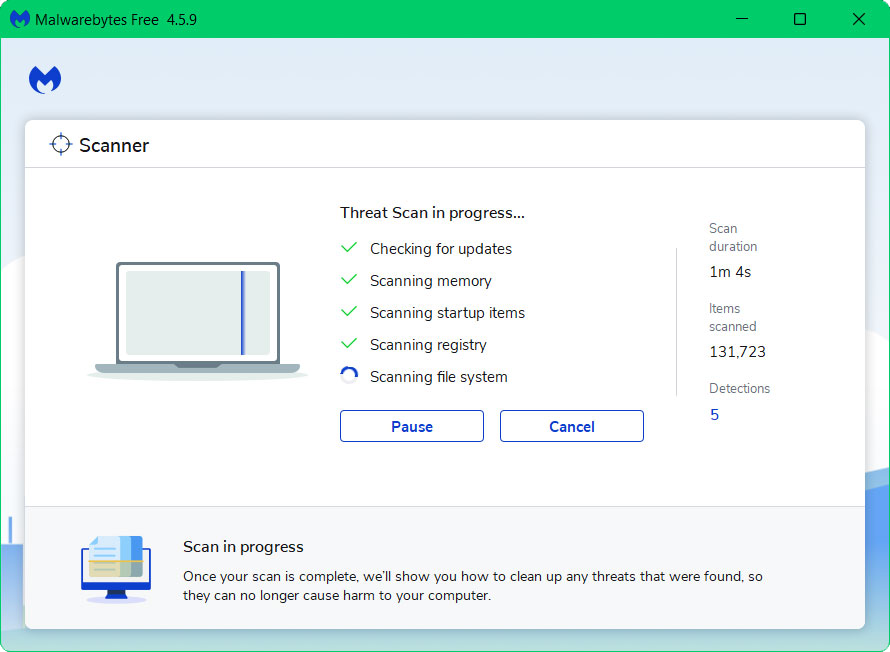
5 All discovered malware on the computer will be displayed on the screen, and you can eliminate them by pressing the “quarantine” button.
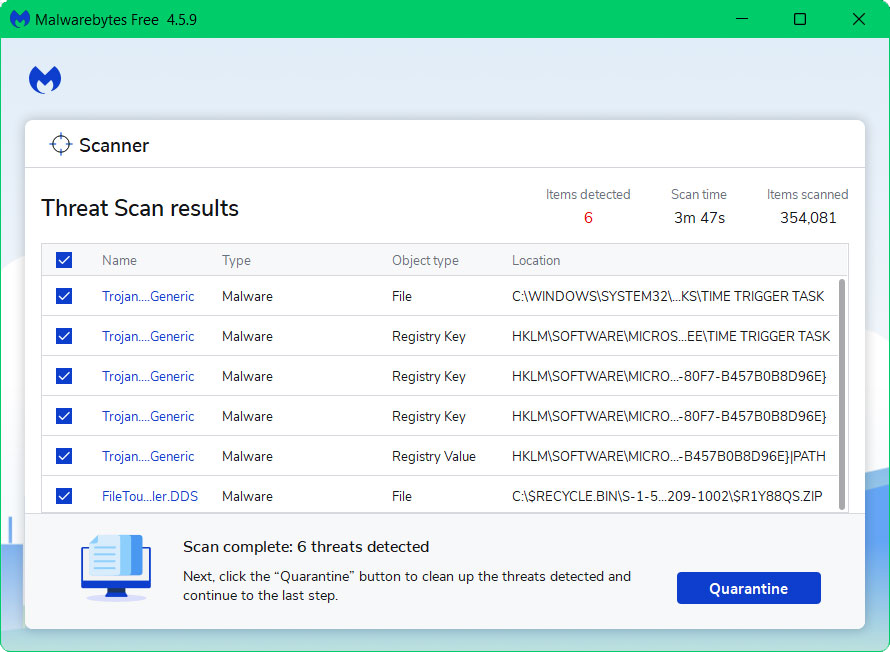
Any potential malware that may have been hiding on your system has now been eliminated, and the modifications it made to the system have been undone. You can check if Service Host: Storage Service is back to normal after a malware scan.
Method 3: Reset the Computer
If none of the two previous approaches were successful, this should be the last resort. Reinstalling Windows will essentially solve the issue because it will return everything to default settings as if the computer were brand new.
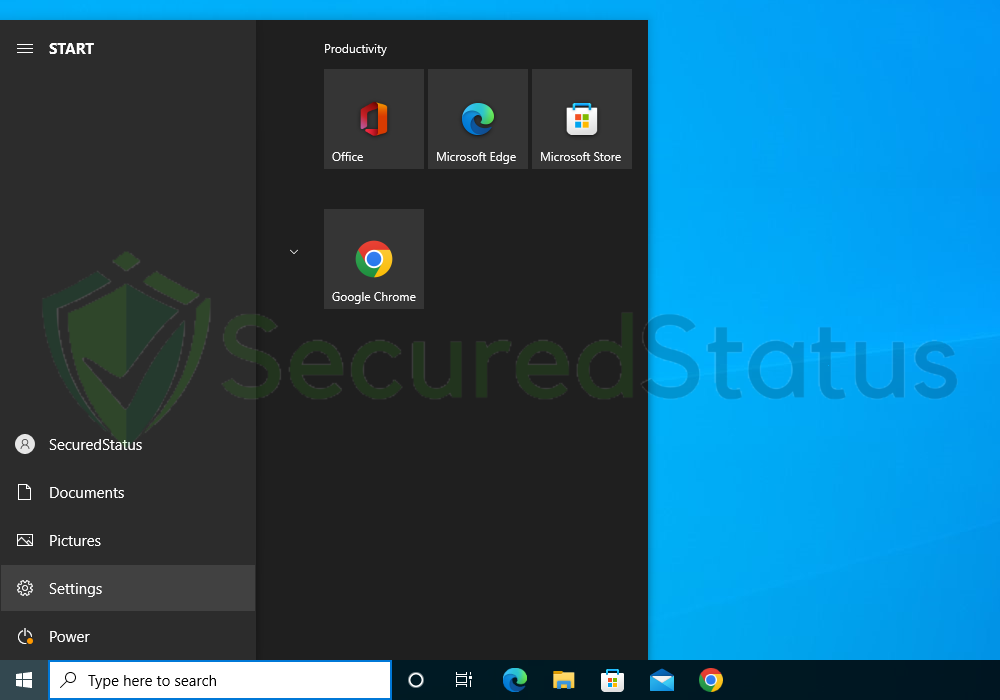
1 Click the Windows Button and select Settings (cog wheel icon) from the left sidebar
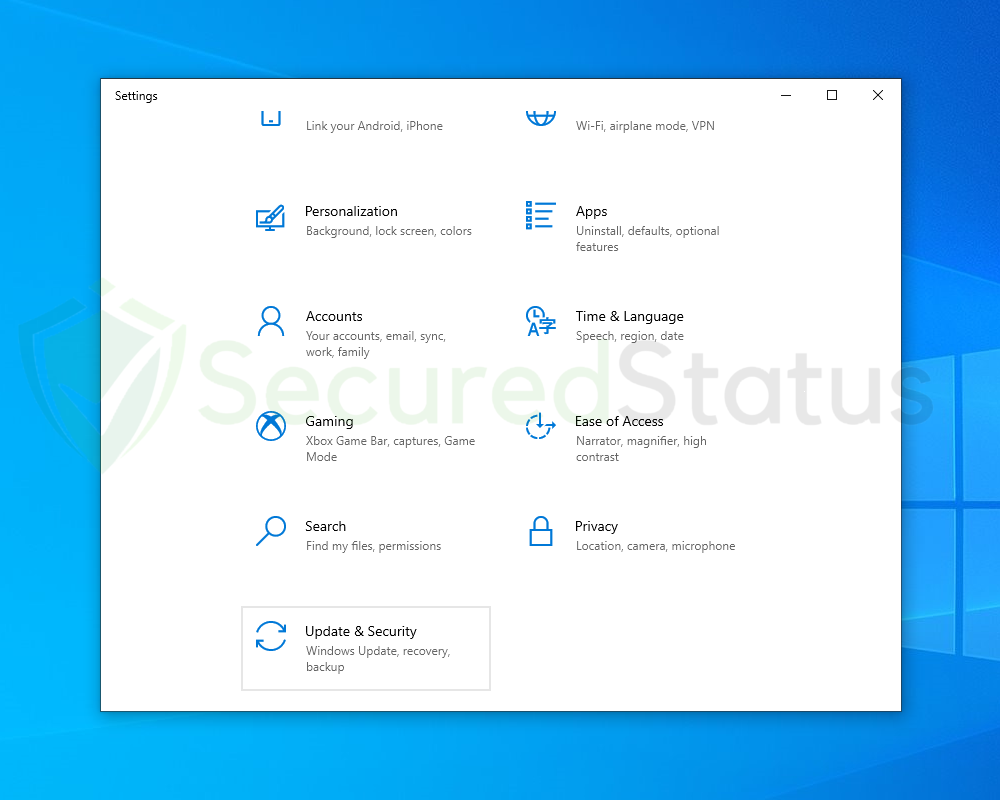
2 Once Settings opens up, scroll down and click Update & Security.
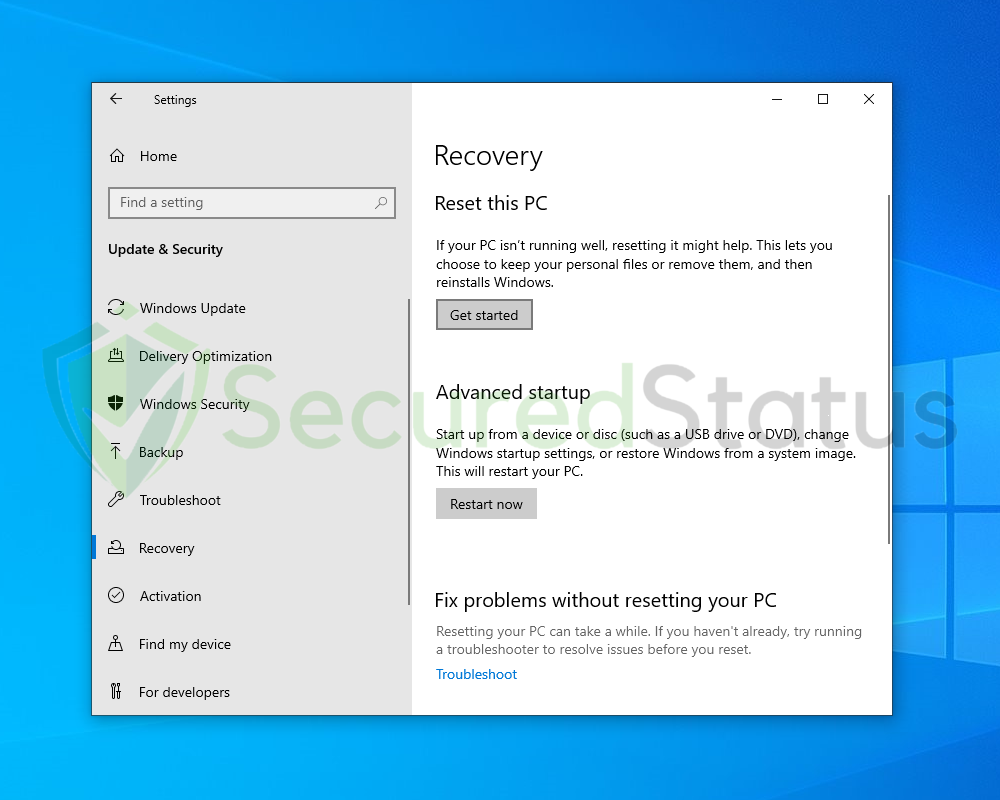
3 Select Recovery from the left sidebar and under Reset this PC, click Get started.
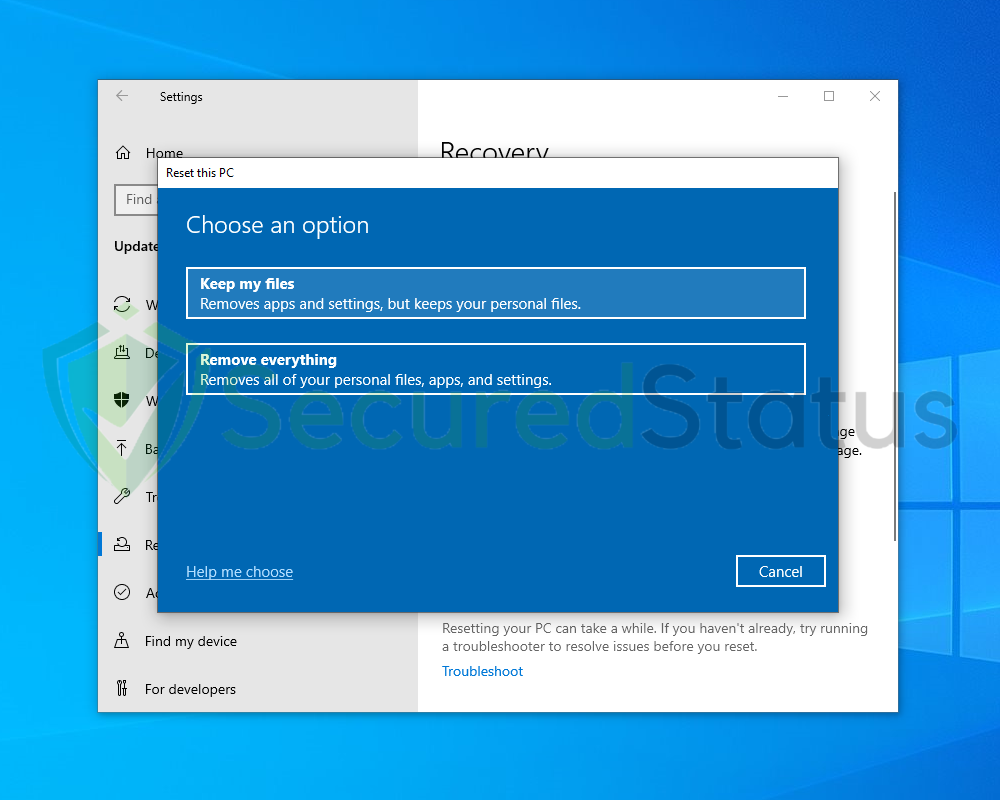
4 You will be presented with two options. Select Keep my files if you wish to retain everything in your computer or choose the later if you would like to reset everything. Follow the instructions and wait until the reset is complete.
Final Thoughts
We hope that this guide has assisted you in resolving your computer’s infected Service Host: Storage Service. Please forward this article to anyone who is having a similar issue so that it can be fixed. Feel free to contact us if you have any additional questions; we’ll be pleased to assist.
