Many Mac users frequently see the “MacOS wants to access the System Preferences” message on their Mac computers. The majority of the time, these problems are brought on by unidentified programs and harmful malware that are installed on the system.
What is the “MacOS wants to access the System Preferences” message?
There are several applications that could receive the message “MacOS wants to access the System Preferences.” However, the TypeCharacterfld application is nowhere to be found and there are no facts about it on the internet.
It is highly annoying for users who get this error to have to deal with this pop-up message on a daily basis when using their computers.
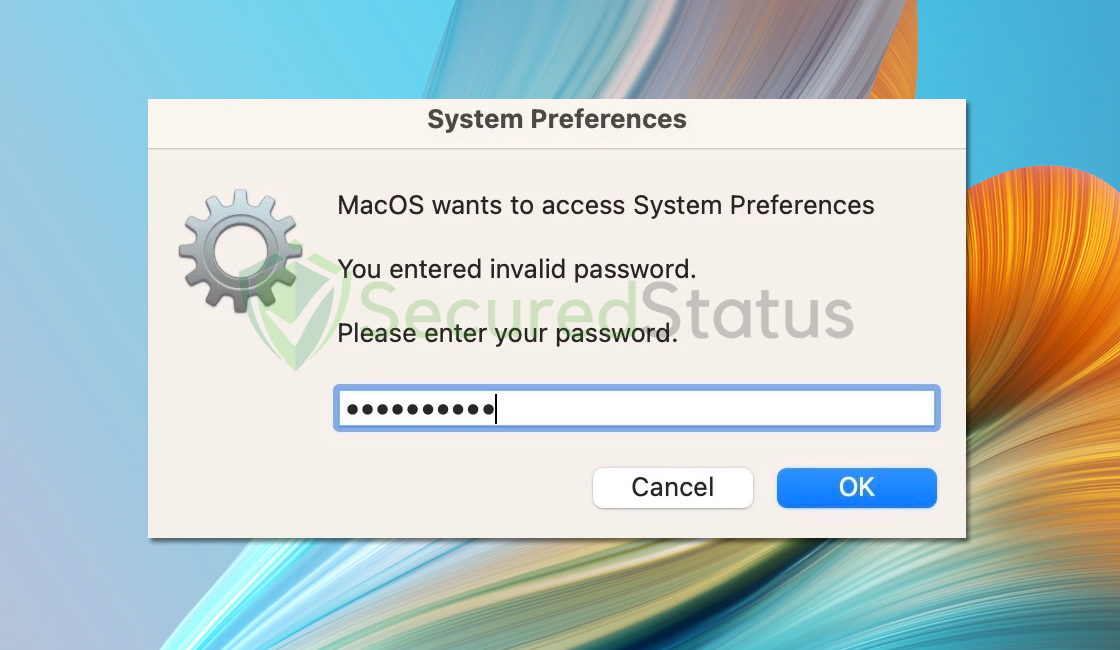
The most likely situation is that malware was installed on your computer without your knowledge because you may not have downloaded it yourself.
How to Fix MacOS wants to access the System Preferences
To remove the MacOS wants to access the System Preferences message, you have to remove malware from the computer. This procedure will assist you in removing malware and viruses from your Mac computer. You can rest assured that the information provided below has been tried and tested.
Step 1: Remove Malware and Associated Files
The first step is to address the source of the problem, which is removing the malware from the system. Since this sort of malware takes the form of an application, it can be removed easily with only a few clicks. It’s also worth noting that leftovers and files related to the malware should be deleted as well.
Remove Malware from Applications
1 Open the Finder application from the Dock.

2 Select Applications from the left sidebar.

3 Find the suspicious malware then right-click its icon then select Move to trash. (We will be using the MacKeeper application as an example.)

Remove Files Associated with Malware
1 Click the Go from the Finder toolbar and select Go to the folder from the expanded menu.

2 Search the following paths for files associated with the malware. These files will have the .plist extension and will look similar to com.alphaconsole.plist. (Note: Do not delete files that come from legit applications)

~/Library/LaunchAgents
~/Library/Application
/Library/LaunchAgents
/Library/LaunchDaemons
3 Once you have found them, right-click and select Move to Trash to get rid of those files.

Empty the Trash Bin
1 From the Dock, right-click the Trash application and select Empty Trash to delete the files permanently.

2 A confirmation window may appear asking if you want to delete the files on the Trash, go ahead and proceed to delete them.

Now, the application as well as files related to the malware threat are permanently deleted from the Mac system.
Step 2: Remove Profiles Created by the Malware
Malware can prevent users from reverting to their default browser settings. As a result, when users attempted to alter their preferences back, they were either unable to do so or their preferences were turned back after a few minutes.
Removing the profiles added by malware is required to ensure that configurations are not altered again once they have been reverted. (Note: If the device does not have any profiles related to the malware, you may proceed to the next step.)
1 Click the Apple logo on the upper left corner of the screen then select System Preferences from the drop-down menu.

2 On the System Preferences window, find and click Profiles. (If you cannot find Profiles, then it means you do not have profiles on your Mac. You may skip this procedure and head over to the next step.)

3 Find and remove profiles that may be associated with the malware. Click the minus button on the lower left part of the window to remove the profile.

Step 3: Scan with Malwarebytes Anti-Malware
Malwarebytes Anti-Malware is one of the most powerful anti-malware programs available for the Mac OS. They have some of the most advanced threat detection tools, ensuring that any harmful virus on your computer is eliminated.
1 Using your web browser, go to the official anti-malware website or click the button above to download the most recent version of the program. When you first download the application, you will also receive a 14-day trial of the premium software.

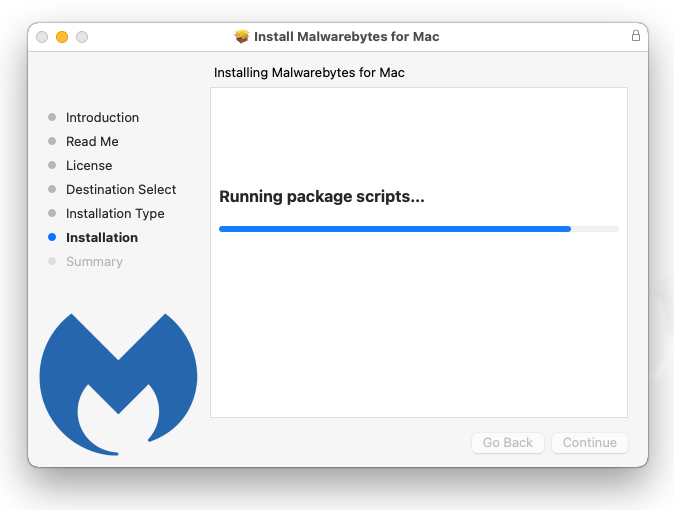
2 After the file has finished downloading, click on the installation package and run the file to start installing the application.
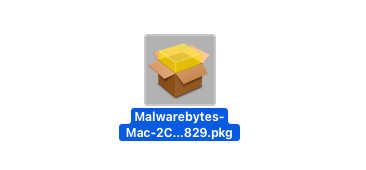
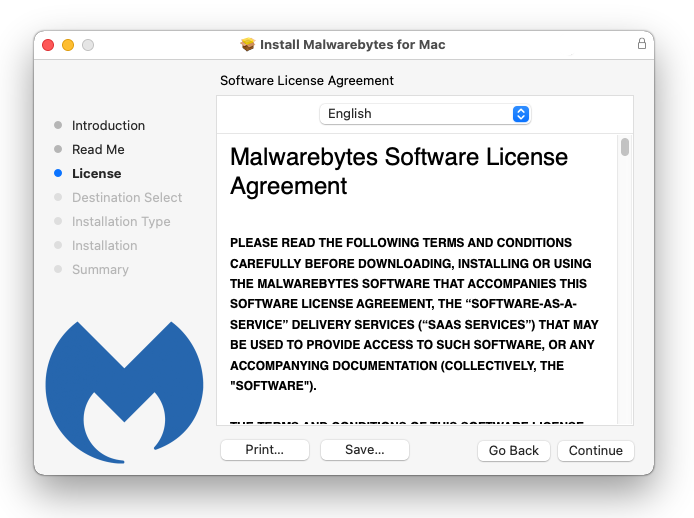
3 Follow the installation procedure shown on the setup and wait for it to finish.
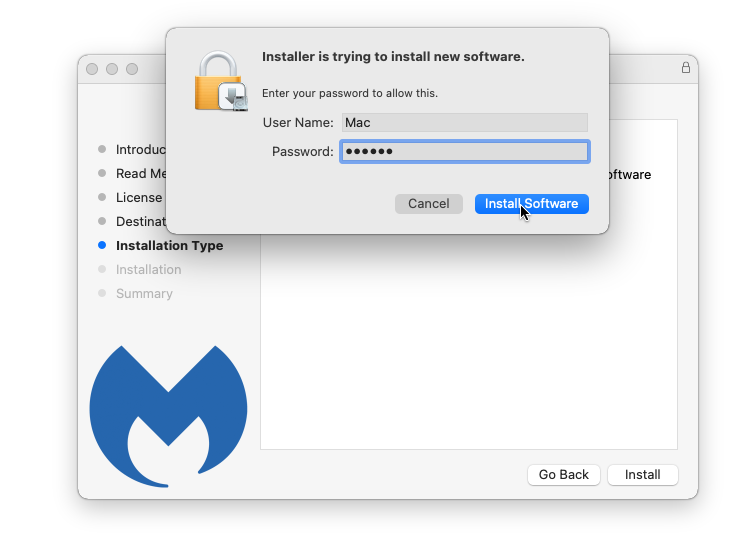
4 Your password may be required to continue installer from installing the new software. Permit it and click Install Software.
5 Wait for Malwarebytes Anti-malware to finish installing on the Mac system.
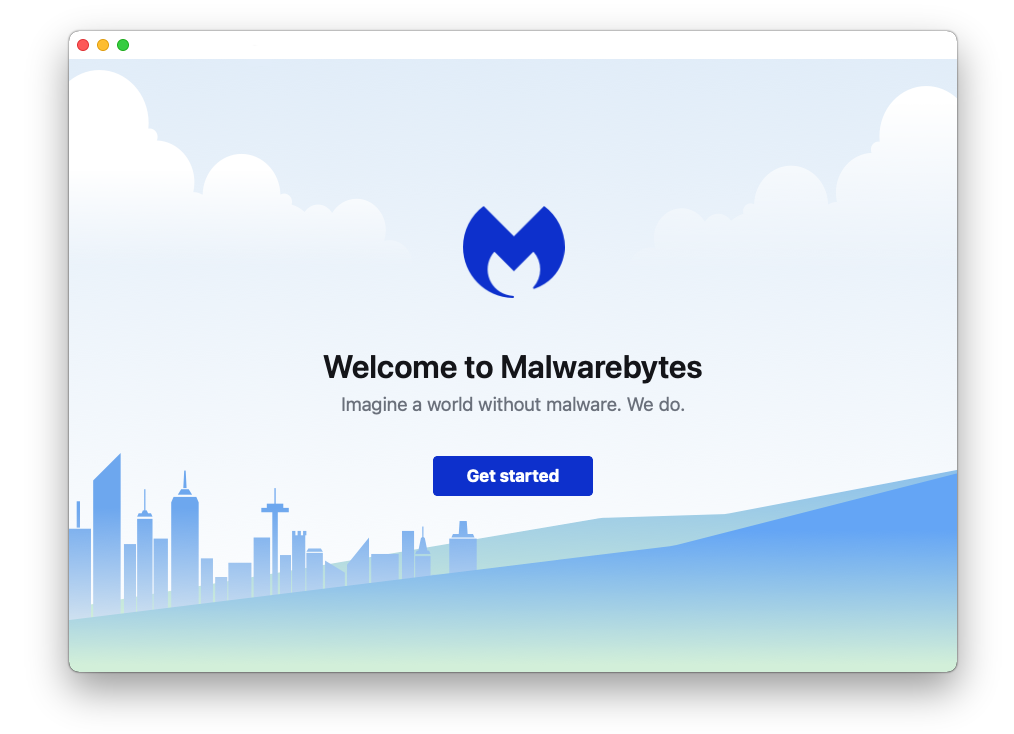
6 Once the process is complete, the application will open. Click on the Get Started button and follow the procedure to start using Malwarebytes.
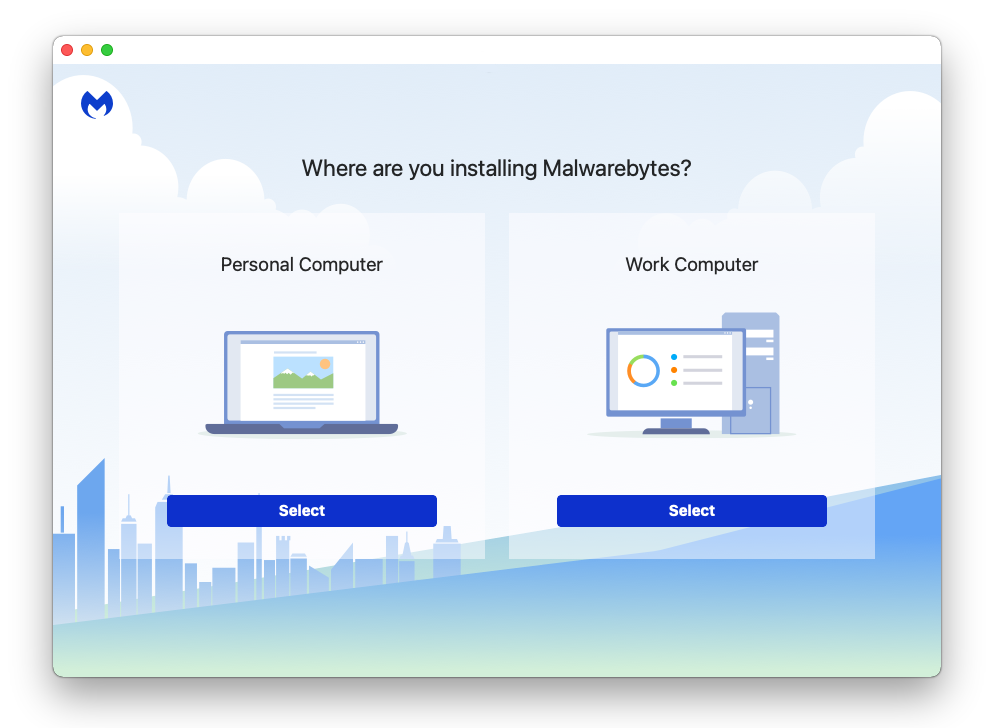
7 When prompted to choose between personal and organizational use, click the personal option unless you are downloading it within your company.
8 After the initial start-up, proceed to run your first scan. The scanning may take a while depending on how many files you have on your system.
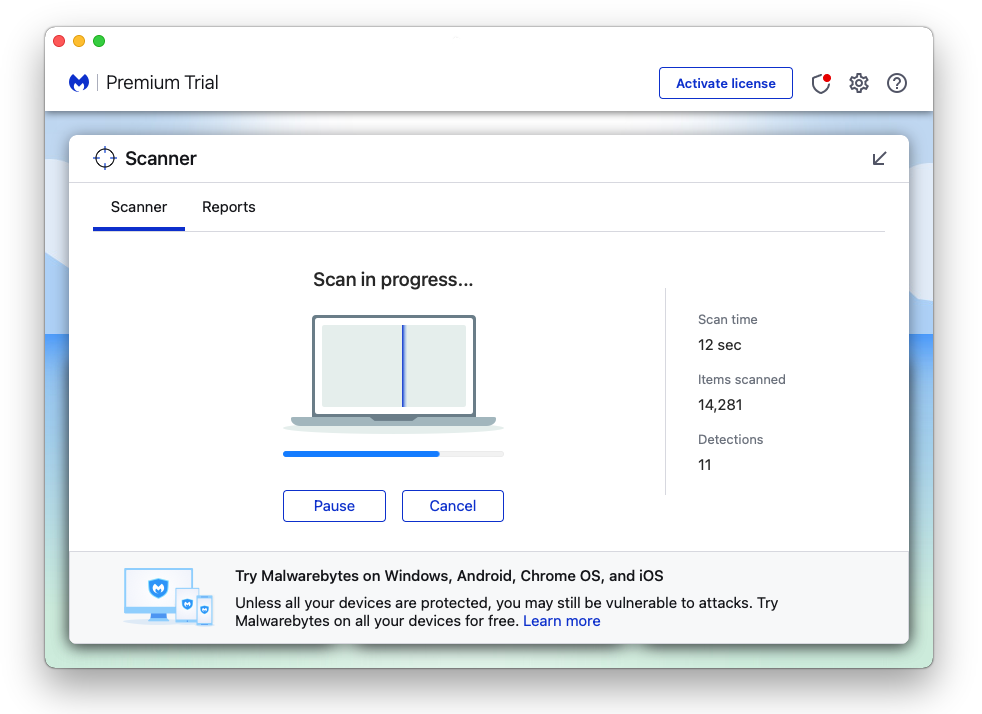
9 Malwarebytes will show all malware identified on the machine after the scan, and you can remove the detected threats by pressing the quarantine button. (Note: Some threats may require a restart of the computer.)

The malware, as well as any other potential threats identified on the Mac system, should be removed once the process is finished. We also recommend turning on Malwarebytes Real-Time Protection, which will secure your computer and detect threats as soon as they appear.
Tips to be safe online
- It is preferable to avoid websites with unique domain extensions other than .com, .org, .net, and.edu. Because most infected websites have extremely distinct TLDs, always verify the last part of a domain to ensure that you are visiting a safe site, unless the site has been reputable ever since.
- Never acquire software or programs from unknown sources, as this is one of the most common ways for malware and other types of viruses to attack your computer. Only download from reputable and legitimate websites. To be safe, stay away from torrent downloads and cracked software download sites, as there will always be malware in the files.
- Using a firewall is one of the most foolproof ways to be safe online. It serves as a first line of defense against dangerous websites, shielding visitors from potential risks. It protects the user’s network and device from intruders. A firewall will safeguard a user from the threats hiding on the vast internet in today’s age.
- It is essential to keep anti-virus software up to date on a computer since hundreds of new malware threats are released every day that target the machine’s vulnerabilities to infect it. Anti-virus updates include the most recent files required to counter new threats and safeguard your machine.
- Only visit websites that have a secured connection. A site with an HTTP connection does not encrypt the data it receives and therefore is not considered secure. Entering personal information such as email addresses, phone numbers, and passwords on a website with an HTTP connection is risky since it could be compromised and your information was stolen. Websites with HTTPS connections, on the other hand, are secure since data is encrypted and attackers are unlikely to gain access to information exchanged within the site.

