The Chrome browser has faced numerous detection threats from Windows Defender and other antivirus software despite being a widely used browser.
It has been consistently flagged as a possible malware or detection threat during the previous few months. Many users are speculating whether the browser is still safe or not.

Some of the most common Windows Defender threat detection names given to the browser are the following:
- Trojan:Script/Conteban.A!ml
- Trojan:Script/Oneeva.A!ml
- BrowserModifier:JS/Adrozek.A
Not to mention, all of these detections are pointing to the cache folder for the browser, which is located in AppData\Local\Google\Chrome\User Data\Default\Cache\Cache_Data. Malware detection by antivirus software in a browser, particularly in the cache folder, is uncommon.
Why Does Windows Defender Detect Chrome Cache Browser As Malware?
There are many rumors that the Chrome browser is malicious, but let’s first clarify that there is no guarantee that it is. Windows Defender may frequently show false positives, but there’s also a potential that the Chrome browser itself contains malware.
One of the main sources of the detections can be malware, including malicious plugins, toolbars, and browser hijackers. In addition to that, the malware may have been cached.
Checking the Chrome browser for any unwanted extensions is the best approach to find out this information. You can also try clearing the cache to see if that resolves the problem at hand.
How to clear the cache in Chrome browser:
1. Open Google Chrome on your computer.
2. Click on the three-dot menu icon located in the top-right corner of the browser window.
3. From the dropdown menu, hover your mouse over More tools.
4. Another submenu will appear. Click on Clear browsing data.
5. A dialog box titled Clear browsing data will open.
6. In the dialog box, you can choose the time range for which you want to clear the cache. If you want to clear the entire cache, select All time.
7. Check the box next to Cached images and files. You can also select any other data you want to clear, such as browsing history or cookies, if desired.
8. Click on the Clear data button.
If Windows Defender still detects it after clearing the cache, it may be either a false positive or malicious program. In this case, you can always add the cache folder as an exception in Windows Defender.
However, since malware in the system is possible, we advise that you scan your system with a different antivirus first to make sure that you aren’t accidentally excluding a potential malware threat from Windows Defender.
How to Fix Windows Defender Flagging Chrome Browser As Malware
This step-by-step guide will help assist users in resolving the problem with Windows Defender flagging the Chrome browser as virus.
Step 1: Scan With A Different Antivirus
Often times, Windows Defender can be inaccurate and a different antivirus may provide a better result. When it comes to removing malware-related problems on the computer, it is best to utilize the anti malware software provided by Malwarebytes.
We have determined that it can remove most types of malicious threats when we conducted malware tests.

Malwarebytes also offers a free 14-day trial when you download it for the first time, so you might want to use the remaining time of the trial to test out the premium features.
1 Click the button above to download the latest version of Malwarebytes Anti-malware.

2 Open the installation file after the download and follow the procedure shown.
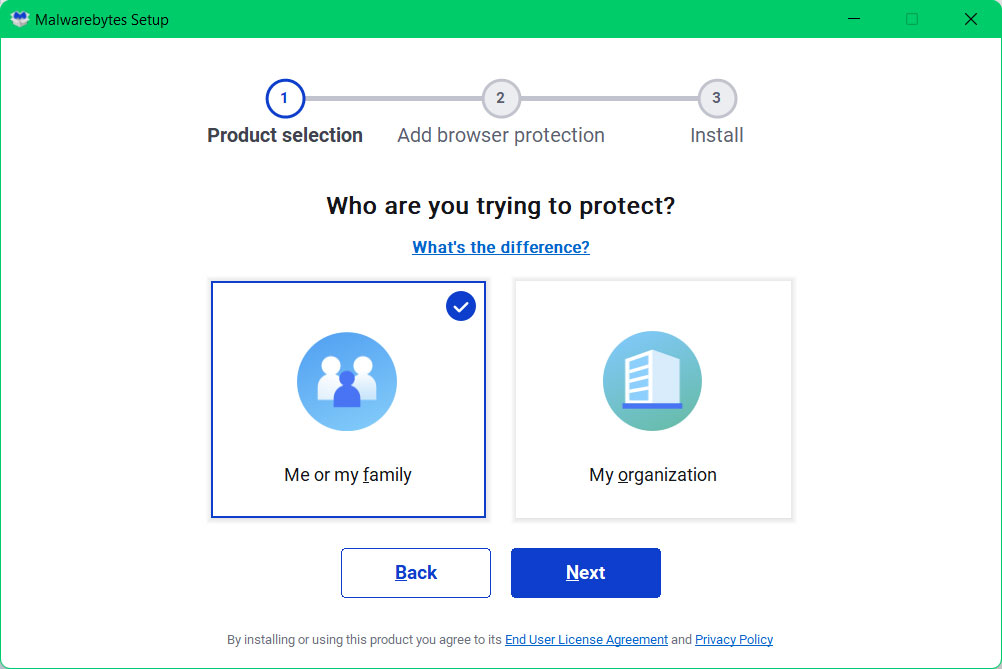
3 After following the software setup instructions, wait for the application to finish installing.

4 Once the application is installed, you may now run your first computer scan and wait for it to finish.
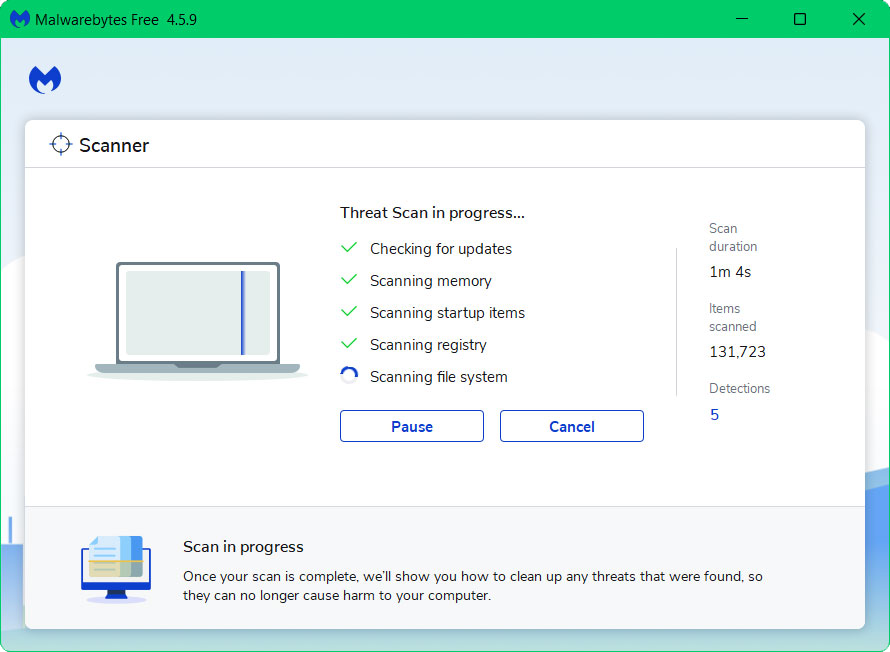
5 All discovered malware on the computer will be displayed on the screen, and you can eliminate them by pressing the “quarantine” button.
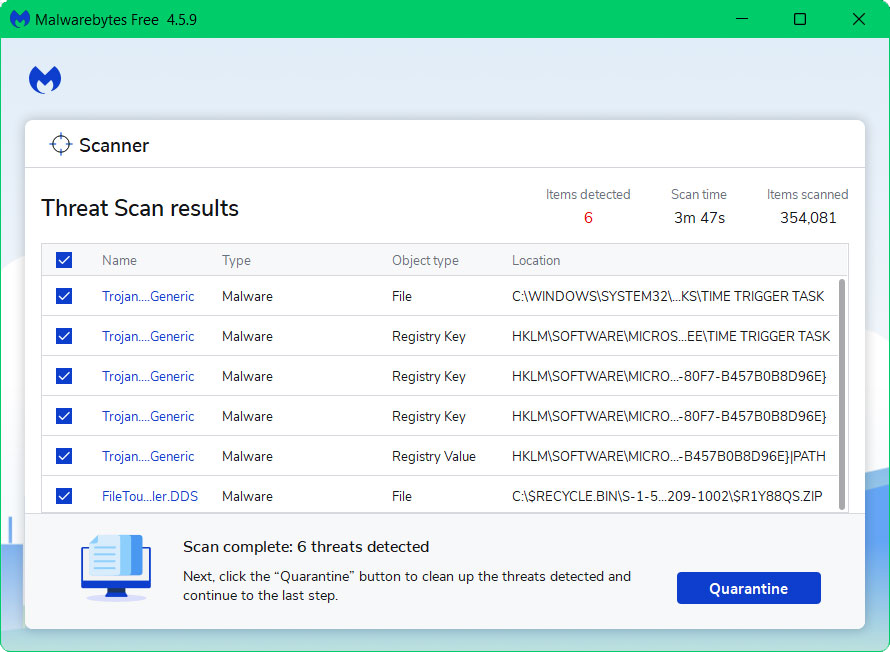
Any potential malware that may have been hiding on your system has now been eliminated, and the modifications it made to the system have been undone. You can check if malware detected by Windows Defender in the browser still appears.
Alternative: Kaspersky Antivirus
If you visit numerous forums and websites, you will see most users agree that Kaspersky is one of the best antivirus tool available.
There is a chance that malware may still be present in the computer system and in this case, a second opinion scan is recommended.

Since each antivirus application has its own threat database, Kaspersky’s detection technology may be able to find viruses that the prior program missed.
To ensure sure the malware is completely removed from the system, we advise running a scan just in case. If you are downloading the application for the first time, you will also receive a 31-day premium trial.
1 Download the Kaspersky Security Cloud by clicking the button above.

2 Once the setup has finished downloaded, open the file and start the installation.

3 Wait until the wizard finds the latest version of the application or click Skip to install the current version stored.

4 Review the License Agreement. If you agree to its terms, click Continue.

5 Follow the installation instructions as shown then finally click install. (You may choose to uncheck the options shown if you do not want those features.)

6 Wait for the application to finish installing, then after the process is complete, click done.

7 Apply the recommended settings then start the application by clicking apply. Feel free to untick the options you do not desire.

8 You will be prompt to create an account and once you are finished, you will be redirected to the main screen. Select the Scan tab then click the run full scan and wait for it to complete. (Before scanning, we recommend you update the database to ensure any new malware variants are detected.)

9 After the scan has finished, the detected threats will be deleted from the computer.

Step 2: Add Chrome’s Cache Folder to Windows Defender Exclusions
If the threat detections still persist, you can now add the cache folder to exclusions knowing that malware is not hiding in the system.
- Search Windows Defender on the Start Menu search bar and click on the application.
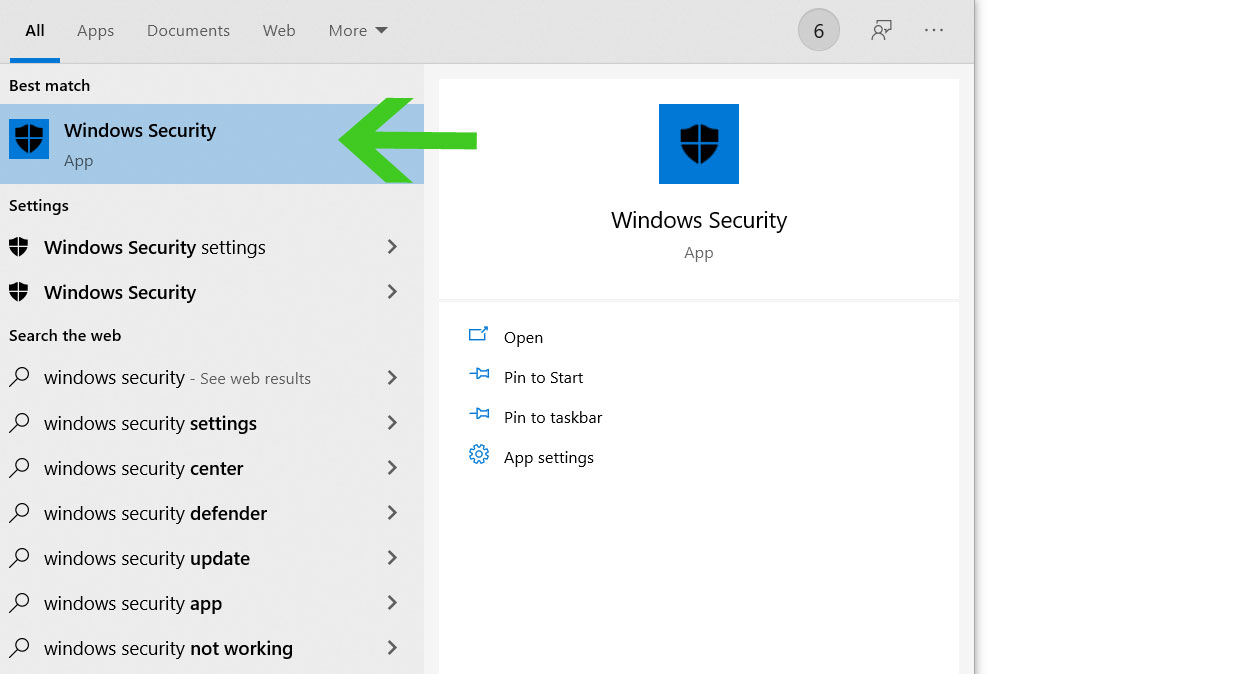
- Once the Windows Security panel opens, select Virus & threat protection from the left side bar.

- Scroll down and select Manage settings under Virus & threat protection settings.

- Find the Add or remove exclusions option under Exclusions.

- Click on the Add an exclusion then click folder.

- Then hover over to the Chrome browser’s cache folder location at AppData\Local\Google\Chrome\User Data\Default\Cache\Cache_Data then click select folder. (The image below only sets an example. Chrome browser’s folder is at a different path than the image.)

- Now that the cache file location has been selected as an exclusion to Windows Defender, it should fix the threat alerts pop-up now.
