A UUID (Universally Unique Identifier) is a 128-bit number that serves as a unique identifier for software programs or hardware devices. It is used to distinguish and differentiate between various entities in a computer system.
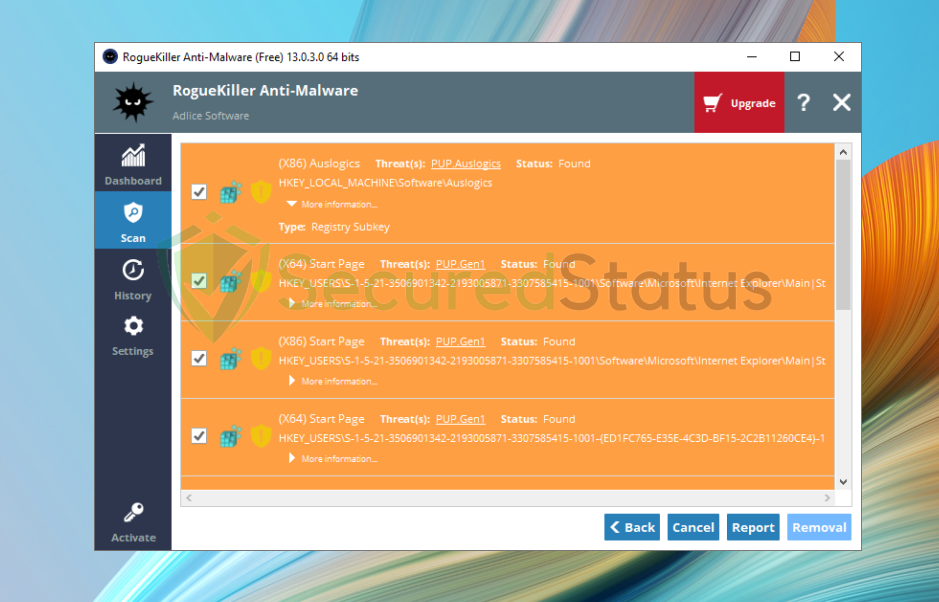
Recently, users have been receiving detections for UUID from RogueKiller, a powerful anti-malware tool designed to identify and eliminate various types of threats on computers.
Typically, a UUID is a reliable and innocuous component of system architecture and does not pose any threat.
However, if you come across folders on your computer that are not part of the standard Windows directory structure, it is important to delve deeper into the situation.

These unfamiliar folders could potentially be associated with a specific application or, in some cases, indicate the presence of malicious software or malware.
Investigating such folders is crucial to ensure the security and integrity of your computer. It is possible that these folders may contain files or processes that could compromise your system.
Research and Identify the UUID
If your computer is raising concerns about a UUID being flagged as adware, it is crucial to conduct thorough research to ascertain whether it is connected to any recognized malware or adware.
This proactive approach will provide you with valuable insights into the potential risks involved and enable you to take appropriate measures to safeguard your system.
To find out if a UUID is associated with malware or adware on your PC, follow these steps:
- Research online: Utilize search engines and reputable online sources to investigate the specific UUID in question. Look for any information indicating its association with malware, adware, or known security threats. Community forums, tech support websites, and antivirus software providers often provide valuable insights and reports on such issues.
- Utilize antivirus software: Install a reliable antivirus program if you haven’t already. Perform a comprehensive system scan using the antivirus software to detect and identify any malware or adware present on your computer. The scanning process will help determine if the flagged UUID is a genuine threat or a false positive.
Utilize Antivirus to Remove Potential Malware
To ensure the safety of your computer, it is crucial to run thorough scans using reputable antivirus software. Perform both full system scans and targeted scans to check for any threats.
If the scans do not detect any issues, there is a possibility that the UUID is a false positive or unrelated to adware.
In this case, we recommend Malwarebytes Anti-malware. This program is one of the most effective anti-malware programs available.
They have some of the greatest threat detection software, ensuring that any unwanted threats on your computer are totally eliminated.

You can utilize this antivirus program to complete the task since it was this program that detected the malicious threat. Furthermore, even if you think malware is completely removed from the computer, we recommend that you run a complete scan just in case.
1 Visit the antivirus website or click the button above to download the most up-to-date version of the software that best suits your requirements. For mobile devices, download the application from the Google Play Store or Apple App Store.

2 Follow the software installation instructions until they are completed.
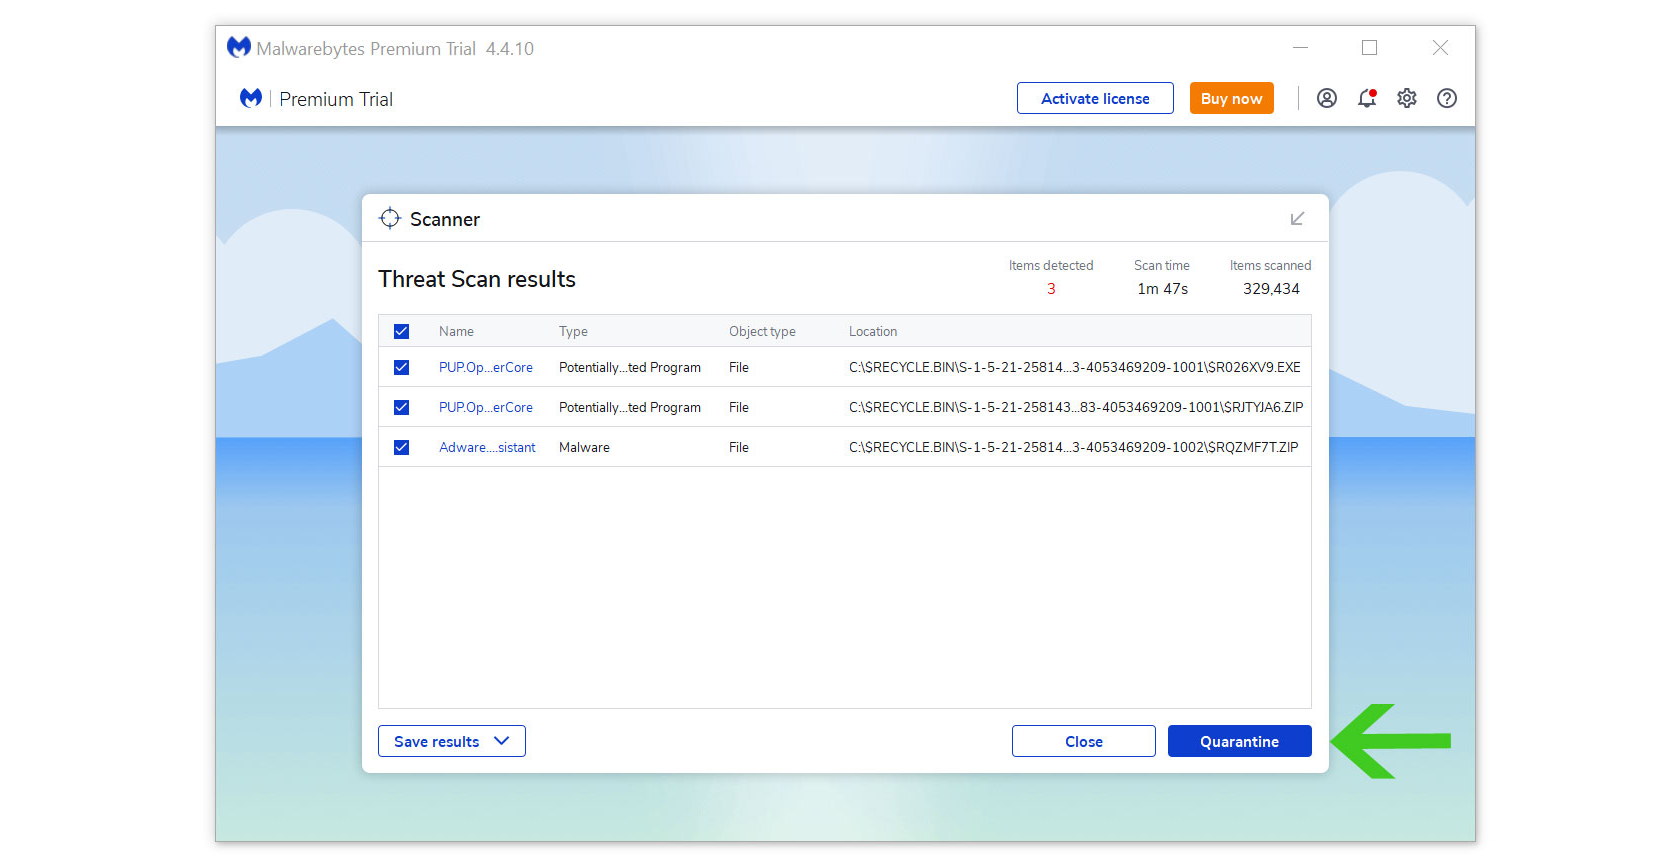
3 Run a complete malware scan on the machine and wait for it to finish.

4 All the detected threats found on the computer will be shown on the screen and clicking the “quarantine” button to remove them.

Any other harmful viruses discovered on the computer, should be eliminated once the process is complete. We also recommend to use Malwarebytes Real Time Protection, which will secure your machine and detect any threats as soon as they appear.
Alternative: Kaspersky Antivirus
There are instances where a different antivirus can find something another antivirus cannot. In this situation, if the first antivirus program didn’t work, we advise doing a scan with a different one.
If you visit numerous forums and websites, you will see most users agree that Kaspersky is one of the best antivirus tool available.

Since each antivirus application has its own threat database, Kaspersky’s detection technology may be able to find viruses that the prior program missed.
To ensure sure viruses are removed from the system, we advise running a scan just in case. If you are downloading the application for the first time, you will also receive a 31-day premium trial.
1 Download the Kaspersky Security Cloud by clicking the button above.

2 Once the setup has finished downloaded, open the file and start the installation.

3 Wait until the wizard finds the latest version of the application or click Skip to install the current version stored.

4 Review the License Agreement. If you agree to its terms, click Continue.

5 Follow the installation instructions as shown then finally click install. (You may choose to uncheck the options shown if you do not want those features.)

6 Wait for the application to finish installing, then after the process is complete, click done.

7 Apply the recommended settings then start the application by clicking apply. Feel free to untick the options you do not desire.

8 You will be prompt to create an account and once you are finished, you will be redirected to the main screen. Select the Scan tab then click the run full scan and wait for it to complete. (Before scanning, we recommend you update the database to ensure any new malware variants are detected.)

After the scan has finished, the detected threats will be deleted from the computer. Reset the computer if prompted to do so.
Manually Delete Malicious Folder
If you are confident that the folder or UUID is not required and is indeed associated with adware or malware, you can proceed with deleting it. However, exercise caution to avoid deleting any critical system files. Follow these steps:
Step 1: Boot your computer into Safe Mode for Isolation and Troubleshooting
Safe Mode is a diagnostic mode that allows you to isolate and resolve problems caused by third-party software or drivers.
By booting your computer into Safe Mode, you can prevent any startup programs or services, including the program or service associated with the folder or UUID, from running.
This step is particularly useful if the folder is being utilized by a program or service set to automatically run at startup. To boot into Safe Mode, follow these steps:
1. Click on the Start menu, then select the Power icon. Press and hold the Shift key on your keyboard, then click on Restart.
2. After the computer restarts, you will see a blue screen with the Windows logo. Select Troubleshoot from the options presented.
3. In the Troubleshoot menu, choose Advanced options, then click on Startup Settings.
4. On the Startup Settings screen, you will see a list of options. Press the corresponding number key on your keyboard to select the Safe Mode option. Your computer will then restart in Safe Mode.
Step 2: Manually Delete the Folder or UUID in Safe Mode
Once you have successfully booted into Safe Mode, you can proceed with manually deleting the folder or UUID. Carefully follow these steps to ensure the correct folder or UUID is removed:
1. Right-click on the Start menu and select File Explorer from the context menu.
2. Use the File Explorer to navigate to the location of the folder or UUID that you want to delete.
3. Right-click on the folder or UUID, then select Delete from the options. Confirm the deletion if prompted.
Step 3: Check for Malicious Scheduled Tasks
If the folder or UUID reappears even after deletion, it is possible that a scheduled task is recreating it. To address this, follow these steps:
1. Type Task Scheduler in the Windows search bar and select the corresponding result to launch the Task Scheduler application.
2. In the Task Scheduler window, navigate through the task folders and locate any tasks that are set to run at startup or at specific times. Identify any tasks that might be associated with the folder or UUID in question.
3. Right-click on the task and choose Delete from the options. Exercise caution when modifying tasks to avoid unintended consequences.
Step 4: Disable Unnecessary Windows Features or Settings
If the folder or UUID continues to reappear, it is possible that it is being created by a Windows feature or setting. To troubleshoot this, follow these steps:
1. Click on the Start menu, then select the gear icon to open the Settings app.
2. Explore the different categories in the Settings app and look for any features or settings that you suspect might be related to the folder or UUID. Disable or adjust those features or settings accordingly.
By following these steps, you can effectively isolate the issue, delete the folder or UUID, and disable any associated tasks or features. Remember to exercise caution when modifying system files or settings and seek professional assistance if needed.
Conclusion
Having a UUID detected as adware is an unusual situation, and in some cases, this detection may just possibly be a false positive.
Through research, system scans, deletion attempts, checking for scheduled tasks, and disabling unnecessary features or settings, you can work towards resolving this issue.
However, if the problem persists, it is recommended to seek professional help or consider reinstalling Windows for a clean start.
